How to make a candle at home (Everything you need to know to make your 1st candle)
Sep 22 , 2022
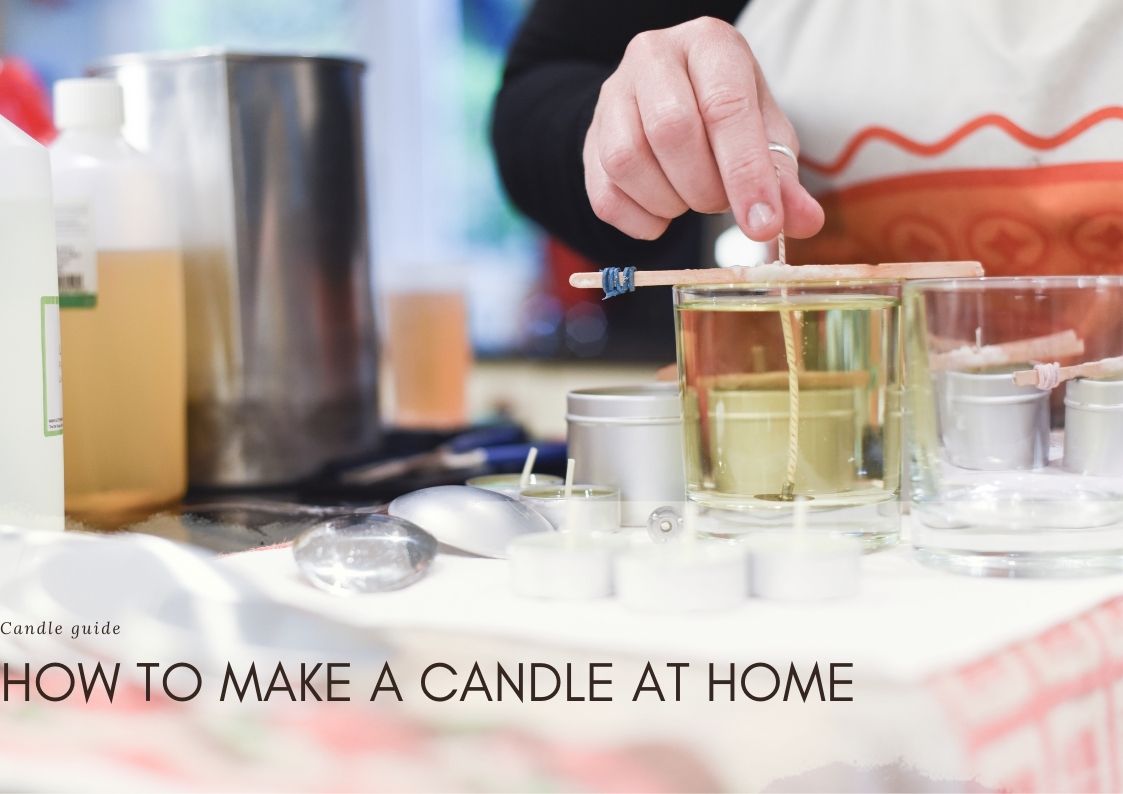
How to make a candle at home
Candle making at home is a very exciting hobby that not only allows you to indulge your creative urges, but also to make useful and beautiful decorations that can be great personal gifts for loved ones. With all of this in mind, it may seem a little difficult at first to get started with candle making, as the process has more pitfalls than most home DIY projects, but the good news is that if you know the pitfalls, you can easily avoid them and even get a beautiful result as a first time candle maker!
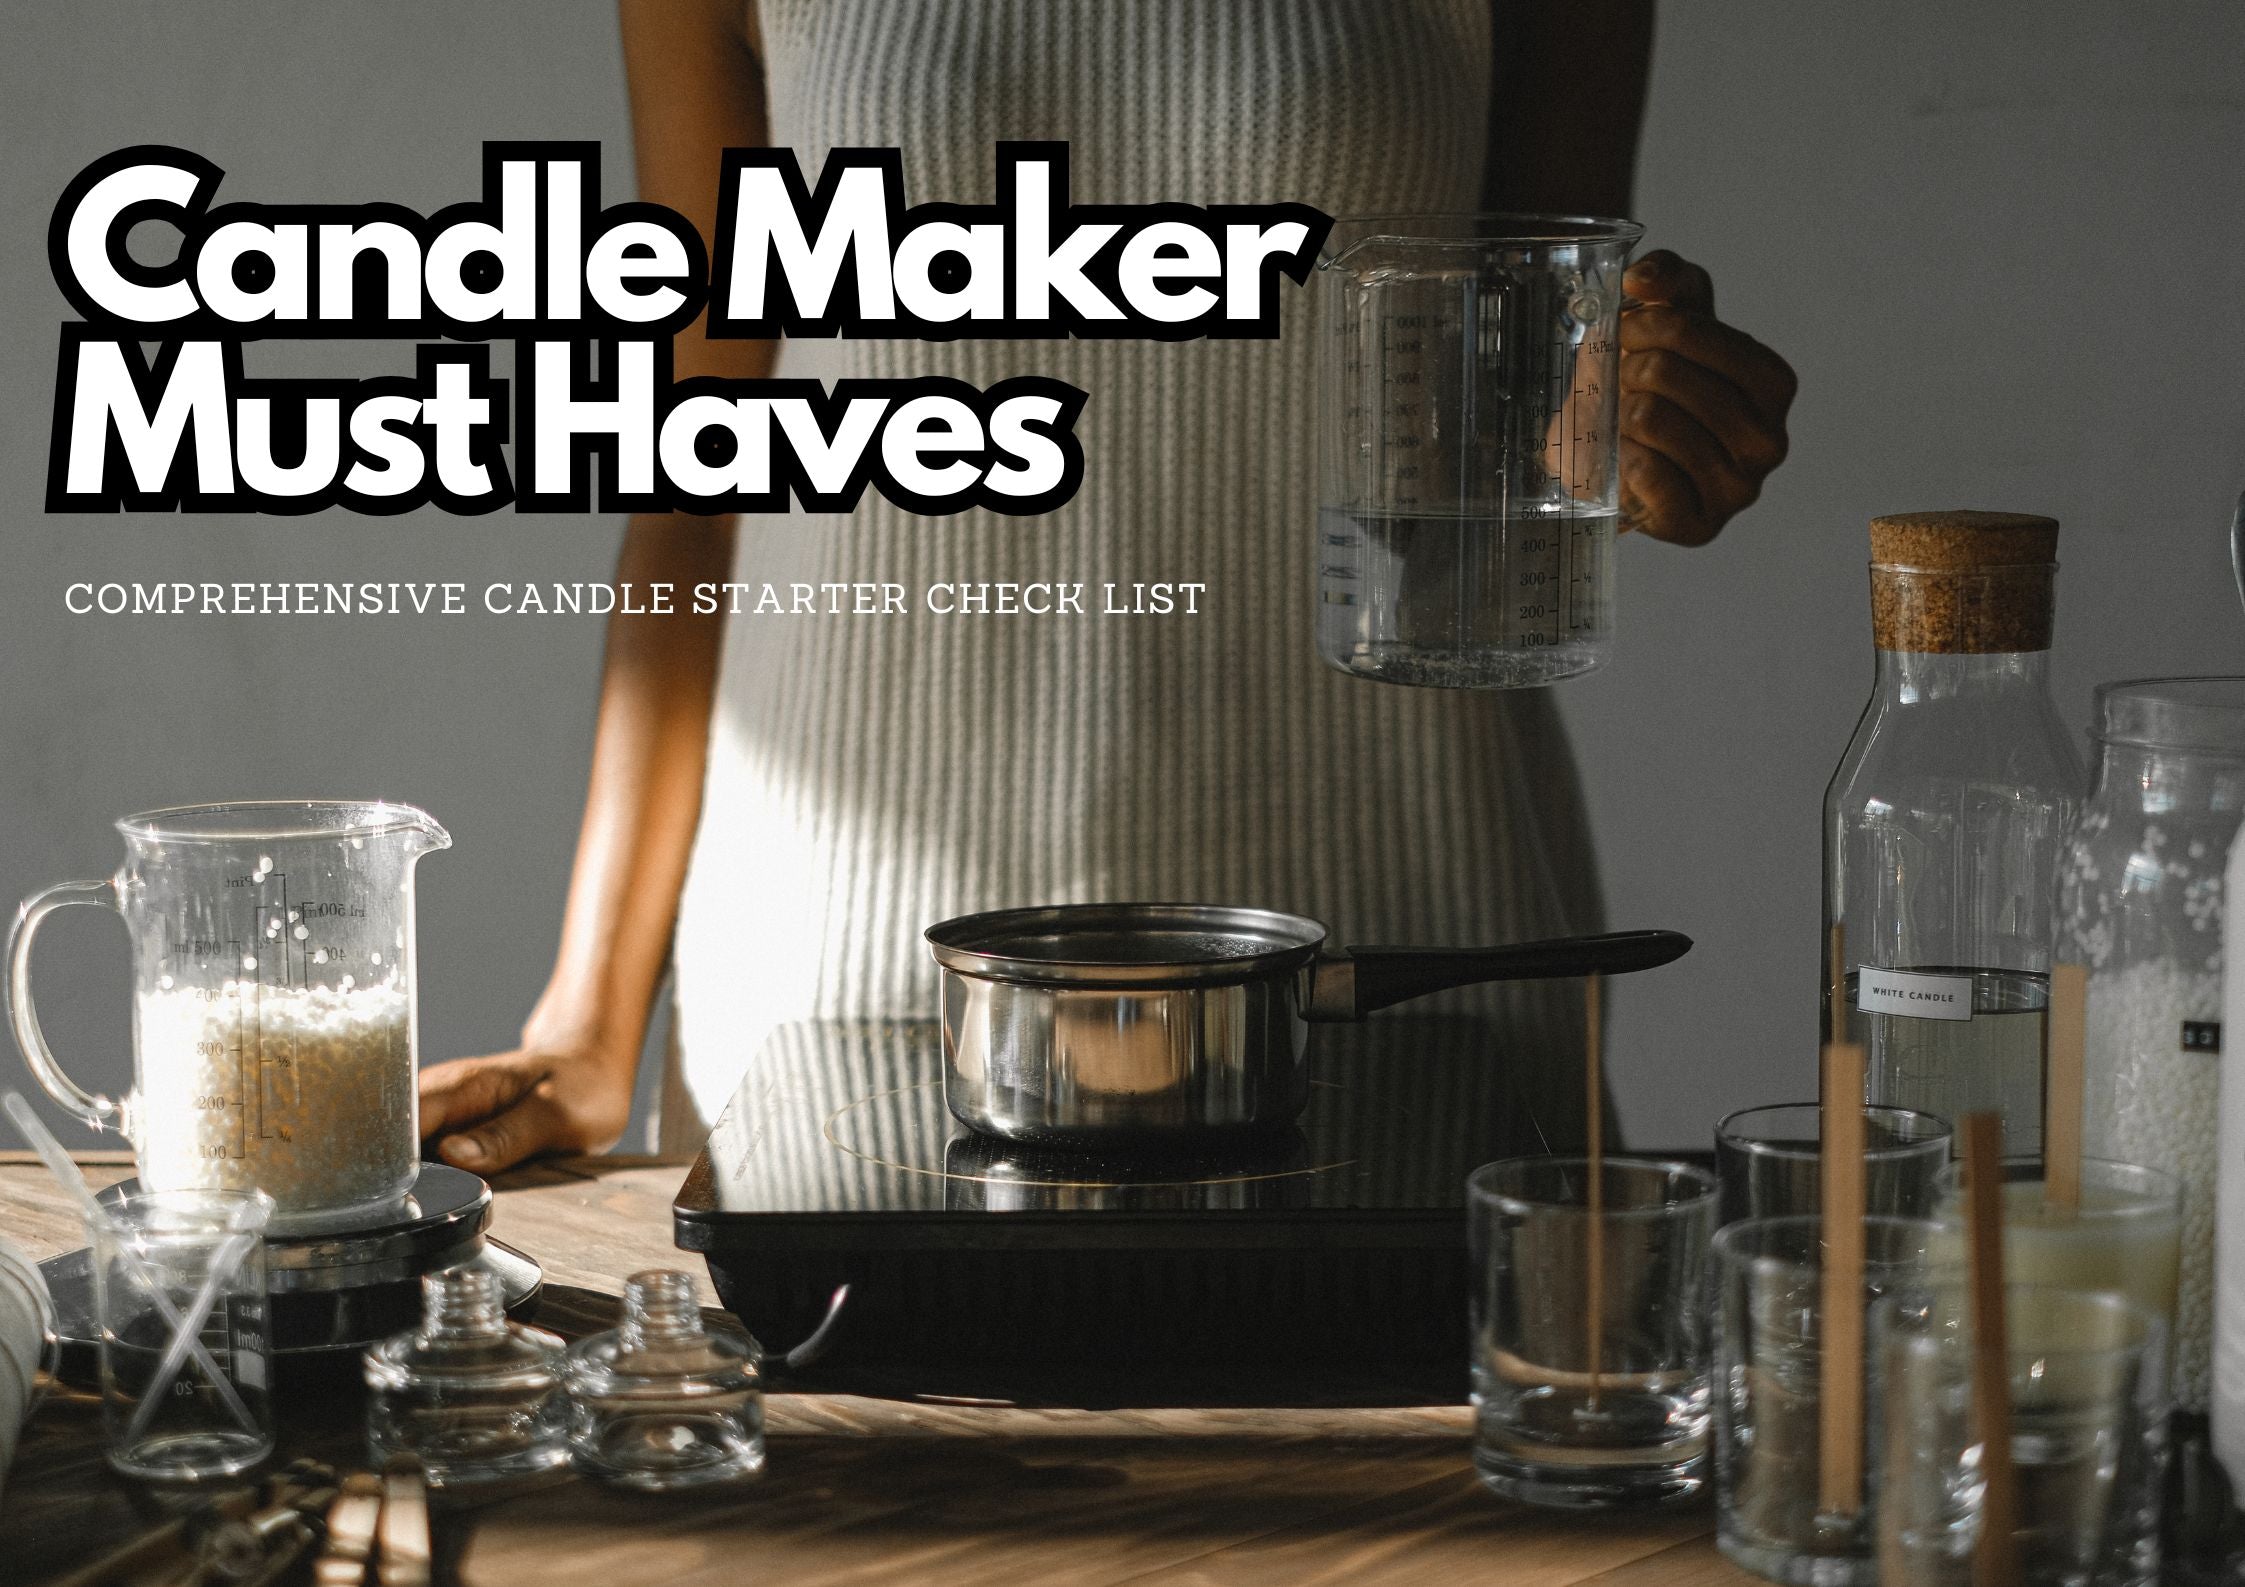
Gather your supplies

To make candles, you will need certain raw materials and tools. Fortunately, most of these can be found in any craft or hobby shop, but if you need better quality materials or some special colouring or essential oils, there are many online shops specializing in candle making.
You'll need the following materials and tools to make your first moulded candle:
-
Wax
-
Candle holder vessel
-
Wick
-
Glue for the wick
-
Colouring (optional)
-
Essential oil or fragrances oil (optional)
-
Scale
-
Knife or file (if you buy the wax in blocks, these will be used to chop it into smaller pieces)
-
Spoon for mixing the melted wax (silicone or plastic, as the wax can get stuck in the wooden ones)
-
Scissors to cut the wick to size
-
Wick centring device (or two chopsticks and a clip)
-
Heat gun or a powerful blow dryer to smooth the surface of the wax
-
Thermometer to measure the temperature of the wax
-
Cooling rack for drying the candle
Some things to consider when choosing ingredients
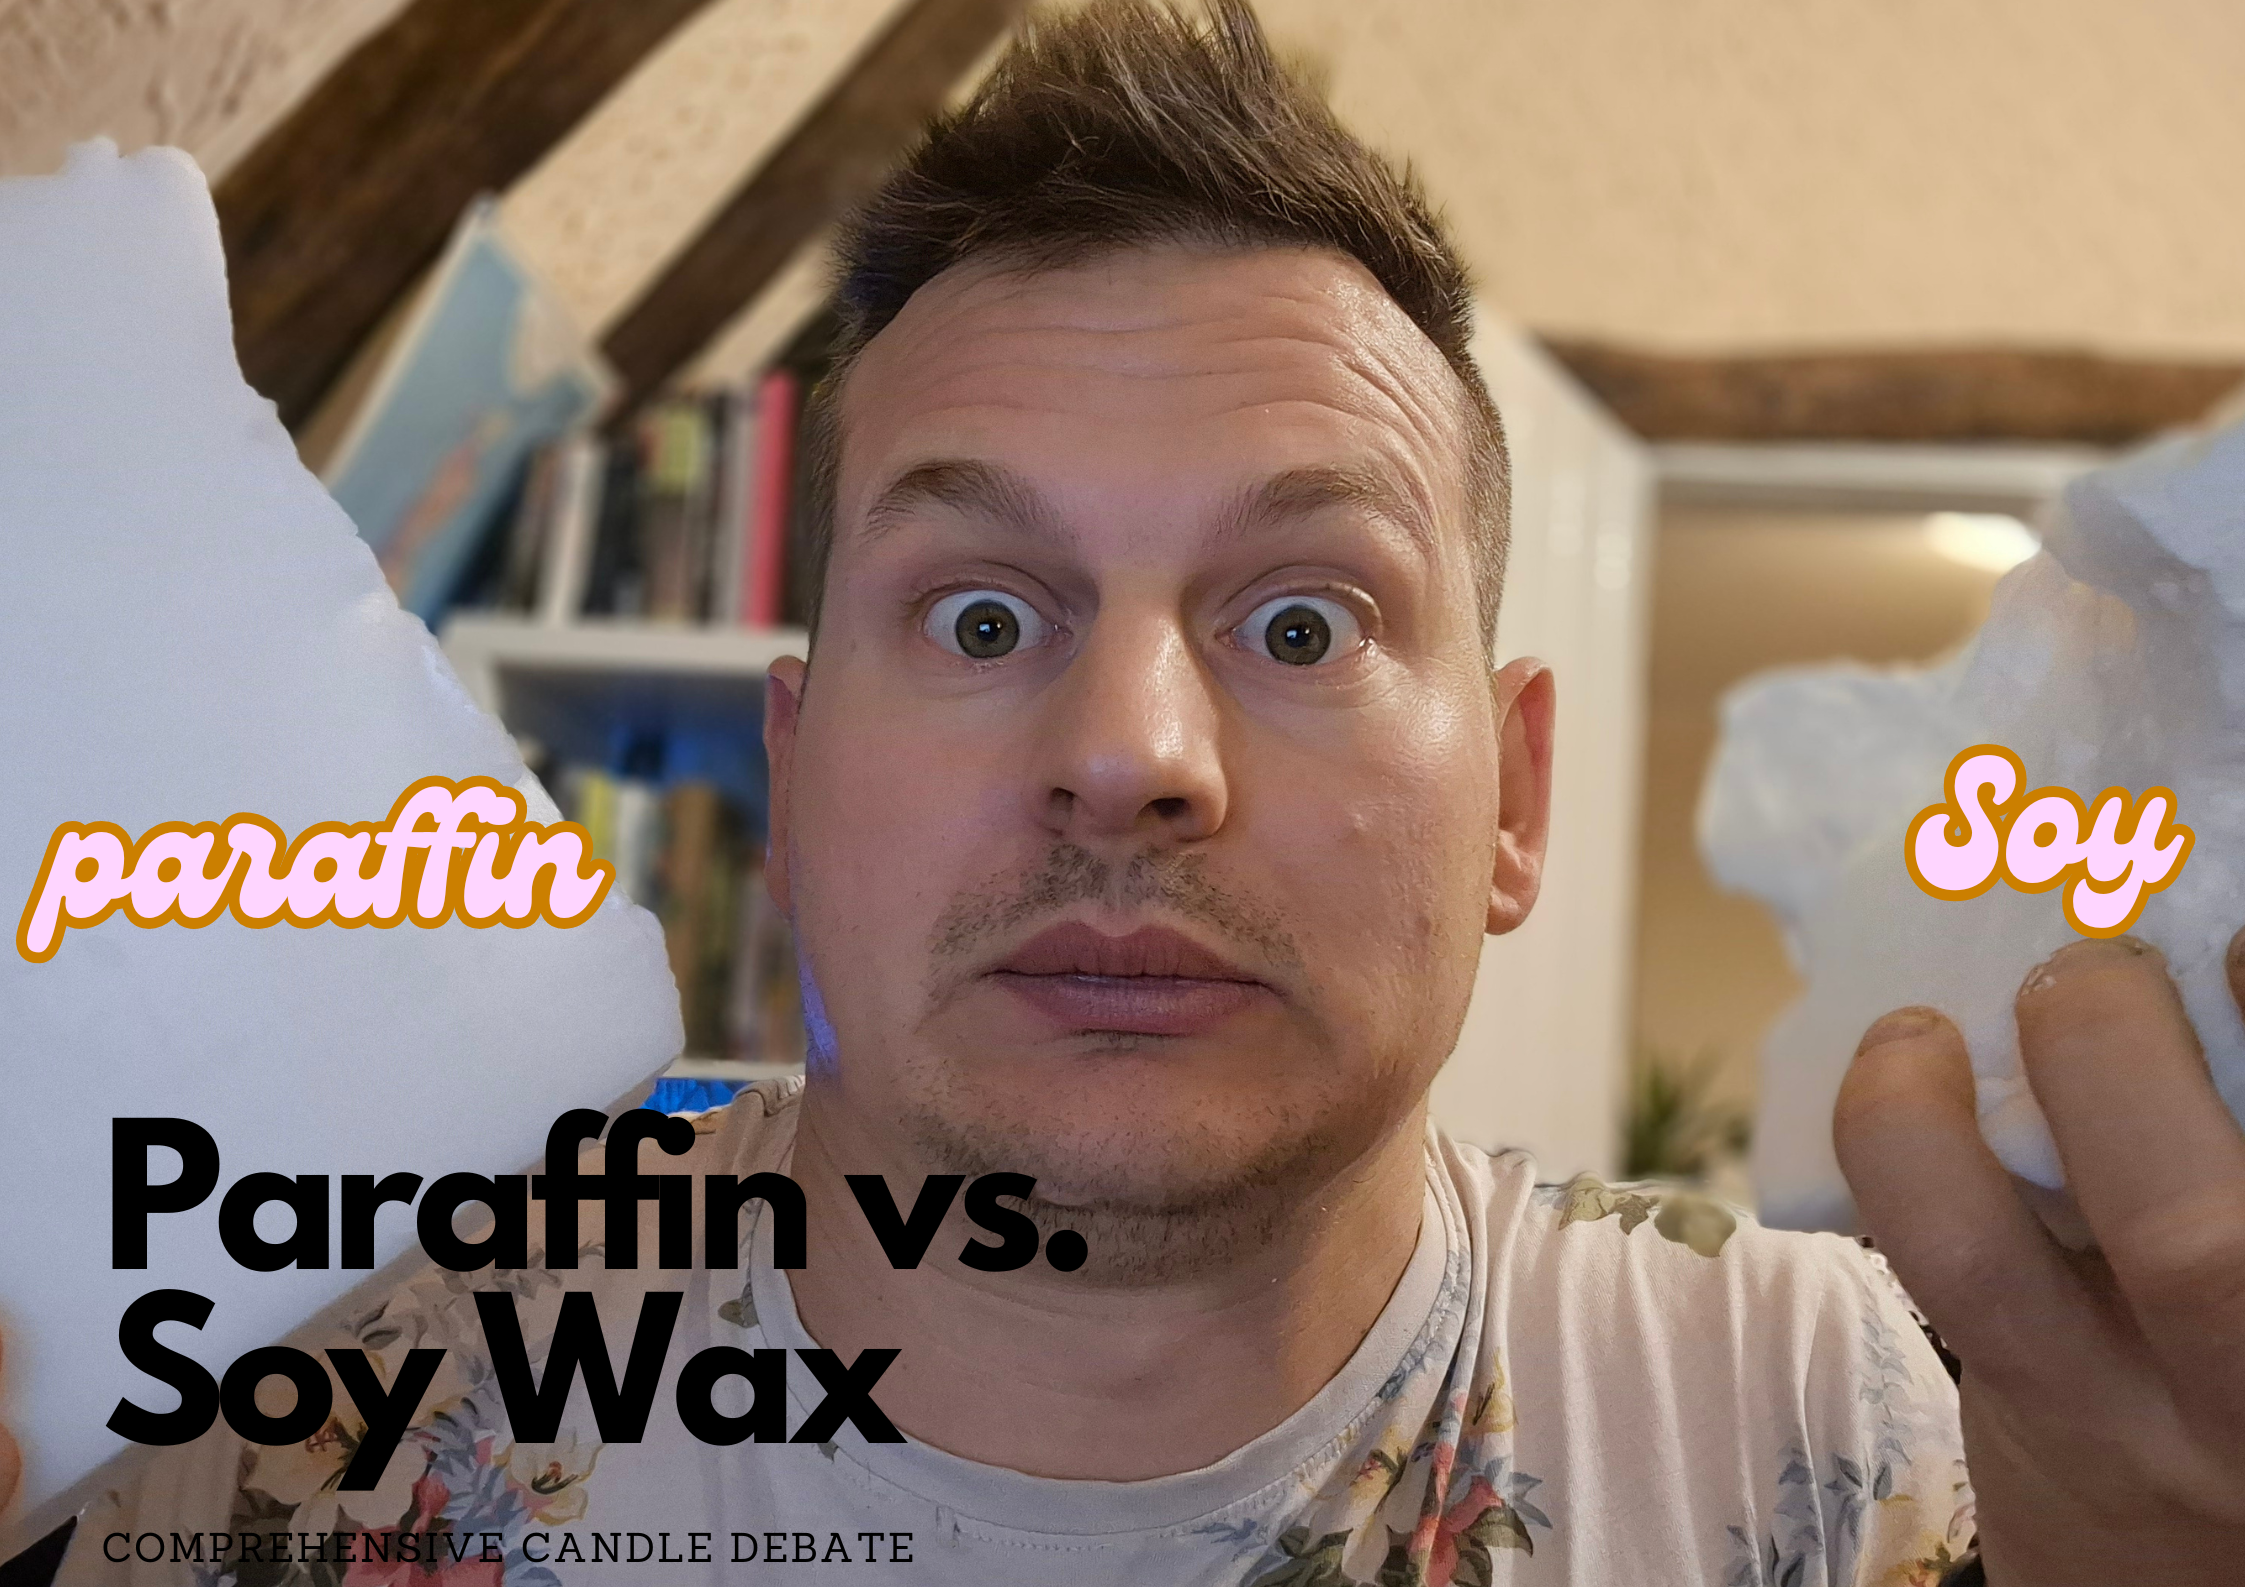
There are now countless types of wax, dozens of essential oils and countless amounts of wicks available, so it can be relatively difficult to find your way around as a beginner. If you want to simplify things, there are two main categories of raw materials available: natural and artificial.
Probably one of the best things about making candles at home is that, unlike their counterparts in the shops, our candles at home can be truly 100% natural. But of course, this may not be an important consideration for us, but we may simply want to make a good quality candle with a special fragrance. Whatever we choose, it's important to follow the manufacturers' recommendations here too. In the case of web shops, most product descriptions will state which other materials are recommended to be used with them. And if you want to buy in person, the retailer can help you.
It's a good idea to choose wax first, as it has the greatest impact on the appearance and function of the finished product. Once this cornerstone has been chosen, it is then a matter of choosing the other ingredients to work well with the wax of your choice.
Preparations

Before you get down to work, it's a good idea to think things through so that you don't realize you've forgotten something when you're holding a pot of melted wax in your hand.
Before making a candle, have an idea of what you want to do, dream of what kind of candle you want to make, and then try to achieve it.
If you are making a candle for the first time, it is a good idea to follow the manufacturer's instructions on the box of ingredients and only deviate from them later, when you are more experienced and have a real desire to experiment. Most waxes, dyes and essential oils will be labelled with the exact dosage, so we just need to make sure we follow these instructions exactly.
Carefully measure out and prepare all the ingredients and tools. If you bought the wax in large cubes, cut it into small chunks or grate it into small pieces to make it melt faster and more evenly. Be sure to clean the candle holder vessels you will be pouring the wax into, be thorough but make certain that no water remains in the pot, as the wax will not be able to stick to these wet spots and will therefore form 'bubbles' on the sides of the candle. Also clean any other tools that touch the wax thoroughly and make sure you have oven gloves nearby to move the hot pans around safely.
Although candle making is by no means an extreme sport, it does have its dangers, so it's important to take all the necessary precautions: wear clothes you won't be sorry to get stained with dye, and make sure that only heat-resistant pots and spoons come into contact with the melted wax. Since wax is flammable, it is a good idea to have a fire extinguisher nearby.
Measuring and melting the wax

Once we have prepared the site, we can start preparing the wax. To know how much of this material you will need, you need to know the volume of your pot. If you have chosen a pot specifically for candle making, it will usually be marked with the capacity of the pot, i.e. how much wax you will need to fill it. If you want to use your own pot for candle making, make sure it is heat-resistant and clean, then calculate its volume.
This is the part, when we also need to measure out our solid dies, and mix it in with the rest of the wax.
Candle making at home also requires caution. You will need a "double boiler". Do not expose the candle wax directly to heat. It can catch fire or evaporate if not melted slowly in hot water. Using this method, heat the wax slowly to its melting point, then a little longer if you want to add essential oils or fragrance oils, then allow it to cool a little before pouring.
The temperature to which the wax should be heated up to and the temperature at which the fragrance should be added depends on the type of wax used. Below we have listed the temperatures required to melt the most common waxes:
Beeswax
-
Melting point 144-149 ℉ (62-65 ℃)
-
Add fragrance oil at 160-165 ℉ (71-74 ℃)
-
Pour beeswax at 140-150 ℉ (60-65 ℃)
Paraffin
-
Melting point 115-142 ℉ (46-61 ℃)
-
Add fragrance oil at 180-185 ℉ (82-85 ℃)
-
Pour paraffin wax at 170-180 ℉ (76-72 ℃)
Soy wax
-
Melting point 113-127 ℉ (45-53 ℃)
-
Add fragrance oil at 180-185 ℉ (82-85 ℃)
-
Pour soy wax at 120-140 ℉ (71-82 ℃)
Parasoy (the blend of paraffin and soy)
-
Melting point 133 ℉ (56 ℃)
-
Add fragrance oil at 180-185 ℉ (82-85 ℃)
-
Pour parasoy wax at 160-180 ℉ (71-82 ℃)
Coconut blend wax (coconut wax mixed with soy wax)
-
Melting point 124-127℉ (51- 53 ℃)
-
Add fragrance oil at 130 ℉ (54 ℃)
-
Pour coconut blend wax at 110-130 ℉ (43-54 ℃)
When mixing fragrances into the wax, make sure that the dosage is accurate. If you add too little fragrance oil to the wax, you will not achieve the desired scent effect, and if you add too much, the fragrance will not be able to mix properly with the wax.
The box of essential oils used specifically for candle making will indicate how many drops to add to what amount of wax.
Preparing the vessel

Once you have chosen a suitable and heat-resistant container to hold your candle, make sure the container is clean. Then it will be our job to preheat them. This is an optional step, many candle makers swear by preheated pots, but there are just as many who think it's a waste of time.
Although opinions may vary, it is certain that preheating helps to solve some problems. We mentioned earlier that wax only sticks to the walls of completely dry pots. Preheating helps to dry up any wet spots that may not be visible. Some candle makers have found that pouring warm wax into a preheated pot makes it less prone to bubbles and, when using soy wax, it also helps to stop the phenomenon called frosting.
There are several ways to start preheating. You can put the pots in the oven for a few minutes, or use a more powerful hairdryer, or heat the pots with a heat gun.
Gluing the wick

Gluing the wick is one of the most important steps. If this is not done or not done properly, the wick may move or separate from the bottom of the vessel during the pouring process and rise to the surface of the wax. If an inappropriate adhesive is chosen, the base of the wick may rise to the top of the melted wax during use and the flame may move from the centre of the pot to the side, creating an increased risk of fire.
To avoid such problems, use a high heat resistant adhesive. The easiest way to do this is to use specially made wick glue dots, from which you just peel off the protective layer and press it onto the bottom of the pot together with the wick. If you have a high melting point glue and a glue gun at home, that's also a perfect solution. The point is that you should not choose an adhesive that has the same melting point as the wax you are using (so you can't use super glue in this case, for example).
Centring the wick

Finding the centre of the pot is also very important. Placing the wick in the centre of the candle is not only a matter of aesthetics. The wax will melt evenly, and un melted wax will not collect on one side of the candle if we can find the centre of the vessel.
If you are working with a transparent-bottomed pot, a good solution is to print out a dart target-like pattern so that when you place the pot on it, you can easily find the centre point, which will provide the wick’s location. If you have a square pot, you need to find the intersection of the two diagonals. If you want to work with a special shaped, but transparent pot, it might be a good idea to draw around the bottom of the pot on a piece of paper and then use rulers to find the centre.
Although there are countless tricks and ways to test your mathematical skills and find the centre of your pot at the same time, in most cases it's enough for you to estimate the approximate location of the centre for the wick.
For the wick, it is important not only that it is in the middle of the bottom of the pot, but also that it runs down the length of the candle through the centre. To achieve this, you also need to fix the wick at the height of the top rim of the pot.
This is necessary because although the wicks are usually strong enough to stand upright after gluing, when the wax is poured around them they can melt and fall in one direction or even be completely submerged under the surface of the wax. (If you have chosen a wooden wick, this step is not necessary, as it is strong enough in itself not to buckle after proper gluing.) The simplest way to secure the wicks in an upright position is to wrap two chopsticks together with some rubber bands and secure the wick between them before pouring the wax.
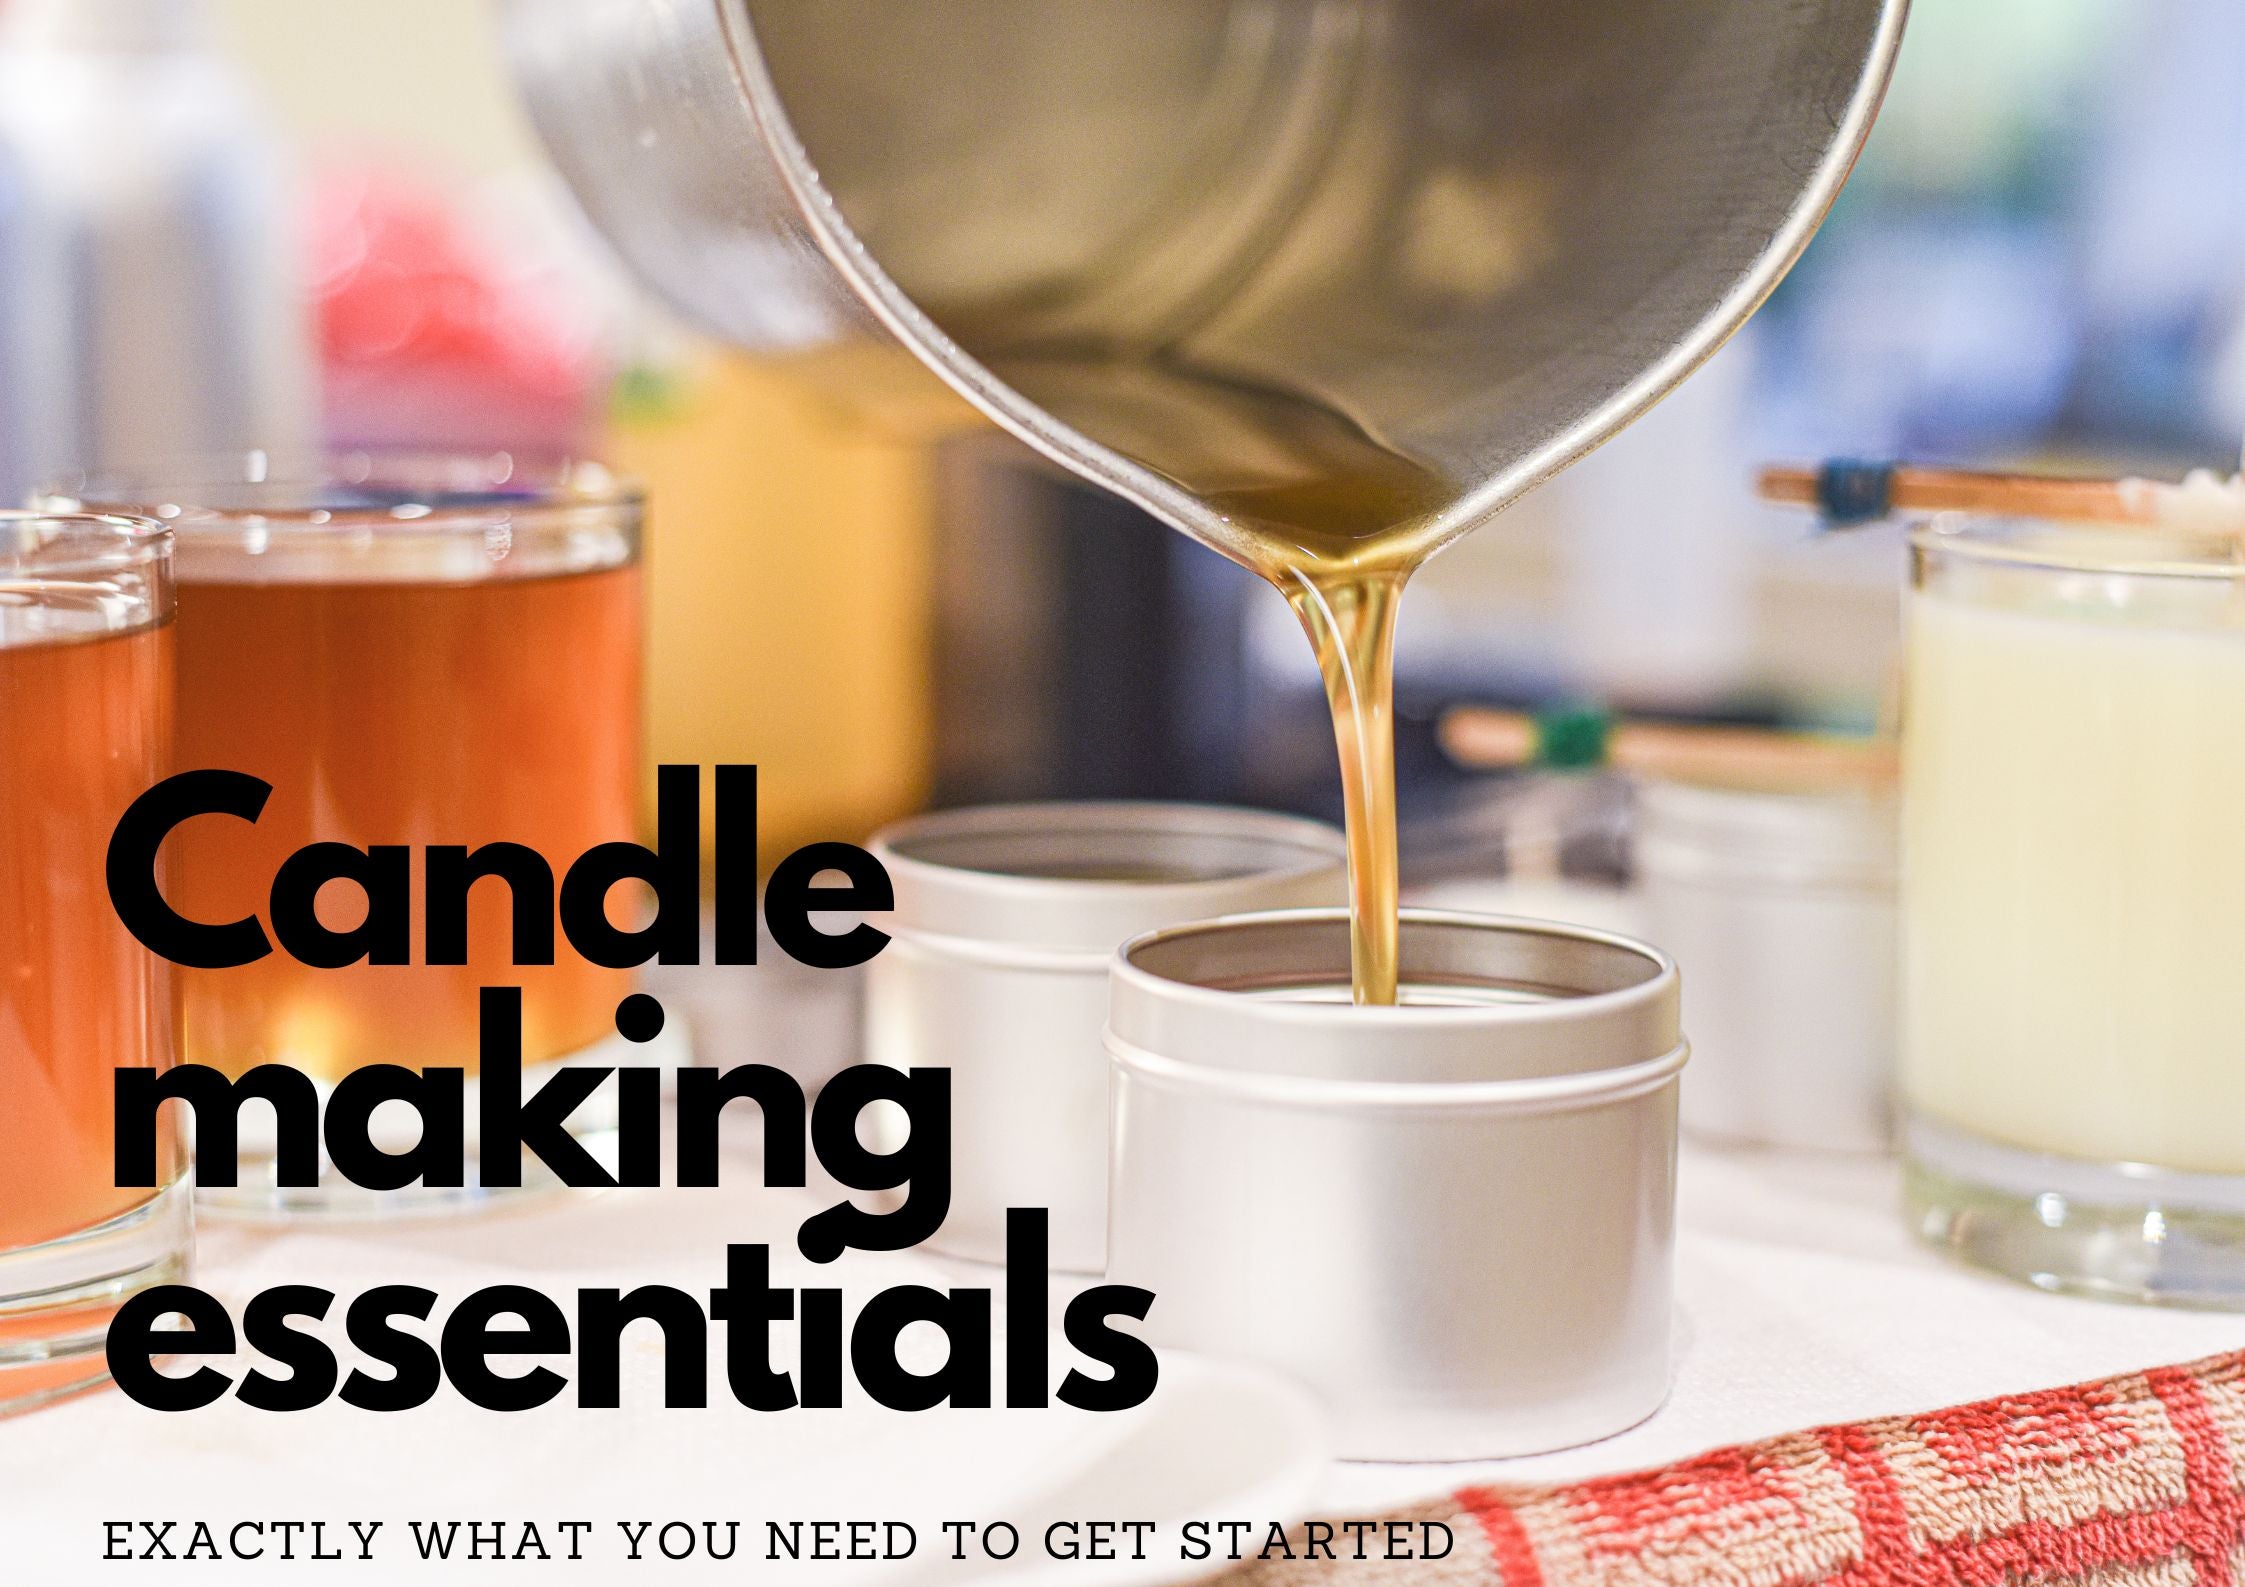
Pouring

Pouring is the most critical step in candle making. This requires waiting for the wax to reach the recommended temperature for pouring, where accuracy is very important, so use a thermometer that is as accurate as possible to monitor the temperature of the wax.
While you are waiting for the wax to reach the right temperature, stir it gently, but be careful to handle it with care and not to stir in bubbles, which can spoil the quality of the finished candle.
Once the wax has reached the right temperature, pour it carefully into the preheated vessel. Once we're done with this step, the hardest part of candle making is behind us!
Curing

Although we're well past the big batches, the candle-making process is far from over! We have to wait for the poured wax to solidify and harden. To do this, you need to choose a room where the temperature is relatively constant and not too cold, because if the wax cools too quickly or not evenly enough, it can develop crystalline abnormalities called frosting. To avoid this, it may be a good idea to use a cooling rack, so that air can circulate under the candle and the wax can cool evenly from all directions. If the candle has hardened, some candle makers recommend letting it cure for a few days, or even weeks, to allow the essential oils to disperse properly in the wax.
Finishing touches

Once the candle has solidified, all that's left is a few finishing touches. One of the most important of these is cutting the wick to size. This is necessary to ensure a proper and clean burn, because if the wick length is not right, the flame can flicker or often go out completely. The size of the wick you need depends on the wax, the diameter of the candle and the type of wick. Unfortunately there is no bulletproof way to calculate the perfect length, so you will have to experiment somewhat. If the candle flame goes out frequently, it may be a sign that the wick is too long so that the heat generated by the flame does not reach the wax. However, if you find that the wick is "drowning" in the melted wax, you have cut it too short. Since it is easier to cut the wick than to make it longer, always cut it shorter in small steps.
Another very important, albeit purely aesthetic, step is the smoothing of the wax surface. If the surface of your candle is not smooth enough, a heat gun can easily remedy the problem. In this case, be sure to keep the heat source away from the candle and only gradually increase the temperature until the top layer of wax has melted. Then do not touch it and do not try to smooth it out, just let it set on its own and it will solidify into a smooth, shiny surface.
Once you've made the candle, there are of course many ways to decorate the jar itself, you can put bows on it or paint a decoration to the outer side of the vessel, but make sure that nothing can get into the path of the flame.
If you have made your first candle, you may never want to use store bought ever again. Although every beginning is difficult, the candle making process in itself can be quite a pleasure, especially if the end result is as we dreamed it would be. If this isn't the case, don't forget: every beginning is difficult, let's go back to the drawing board and change this and that to get a much nicer result for the second run!