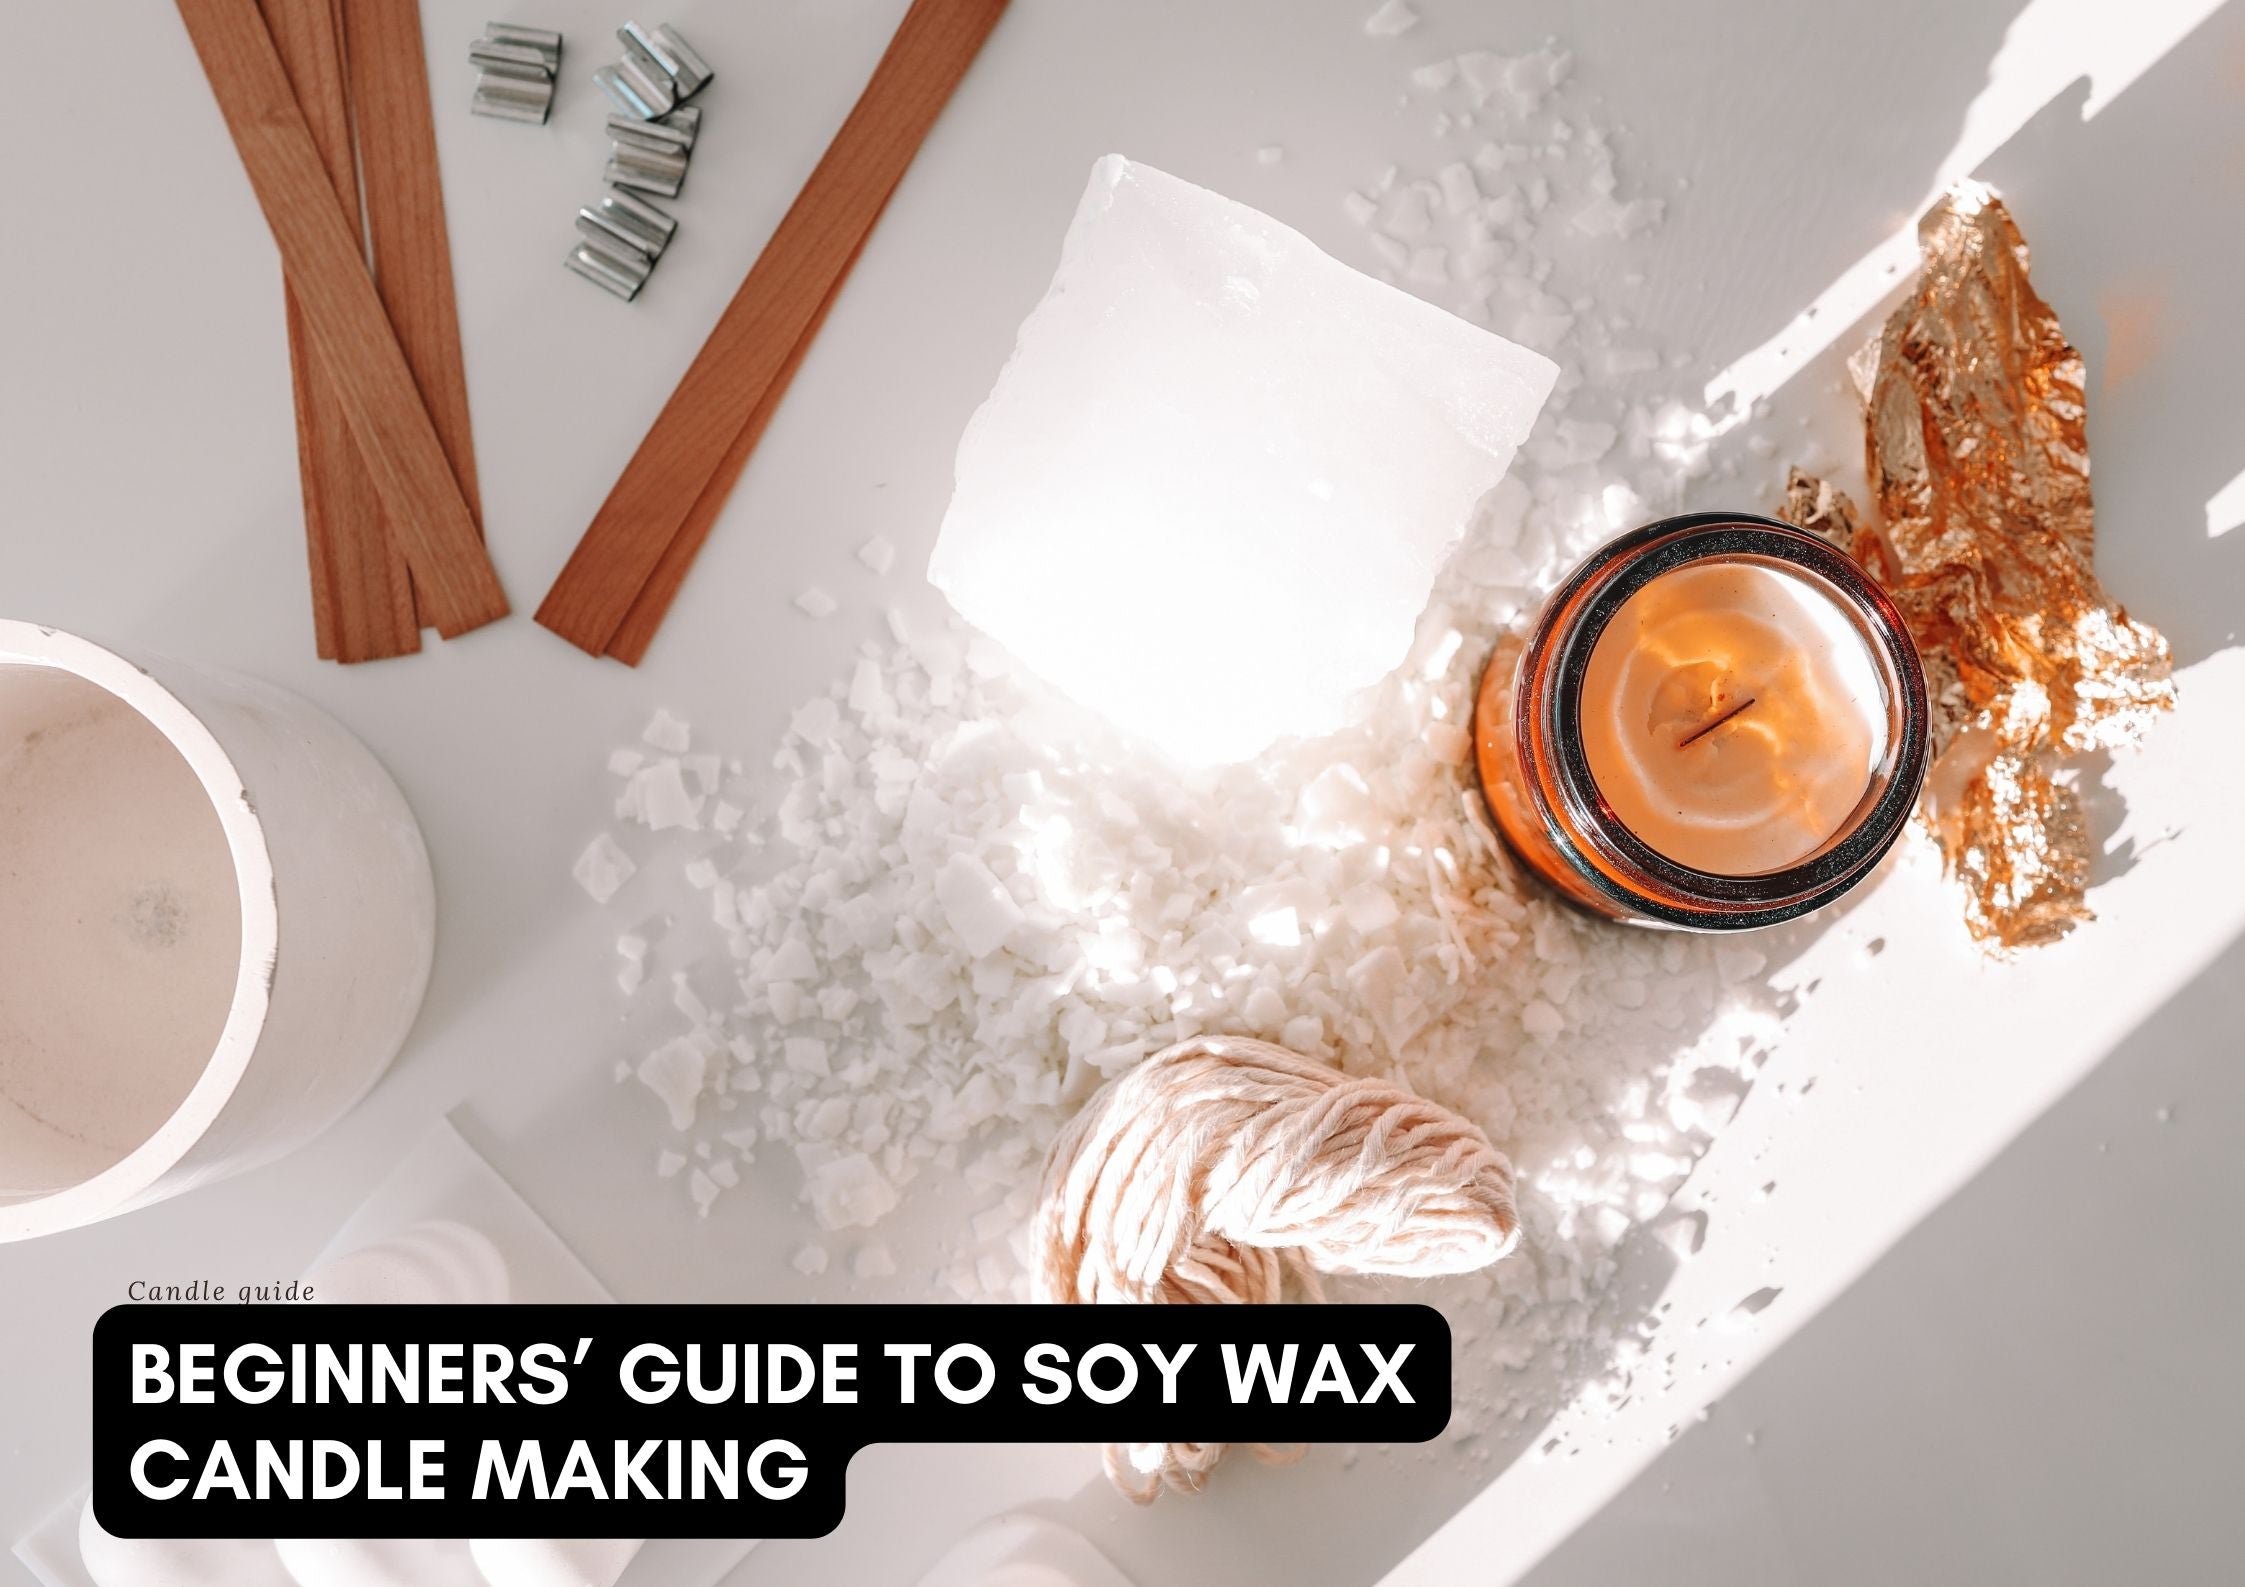
Beginners’ guide to soy wax candle making
Dec 17 , 2022
In the previous posts there has been a lot of information on the different wax types and all the advantages, trips and tricks. In this post, I wanted to provide you a beginner’s guide to soy wax candle making. Soy wax has become increasingly popular in recent years. No wonder as it is a natural and sustainable option compared to paraffin or even beeswax. Many of the largest candle making brands use soy wax as the base of their candles so it is definitely a good choice. Below, you find all the information you need to know in order to start making perfect soy wax candles.
Why is soy wax a good choice?
Before we dive into the step-by-step description, let’s see why soy wax is a good choice. It is natural and non-toxic, so you don’t have to worry about any health or environmental effects. Regarding the practical point of view, soy wax generally has a lower melting point than other wax types. This means that it is easier to start working with it as a beginner. Also, its scent throw is good, and it burns in a clean way.
Ingredients and equipment
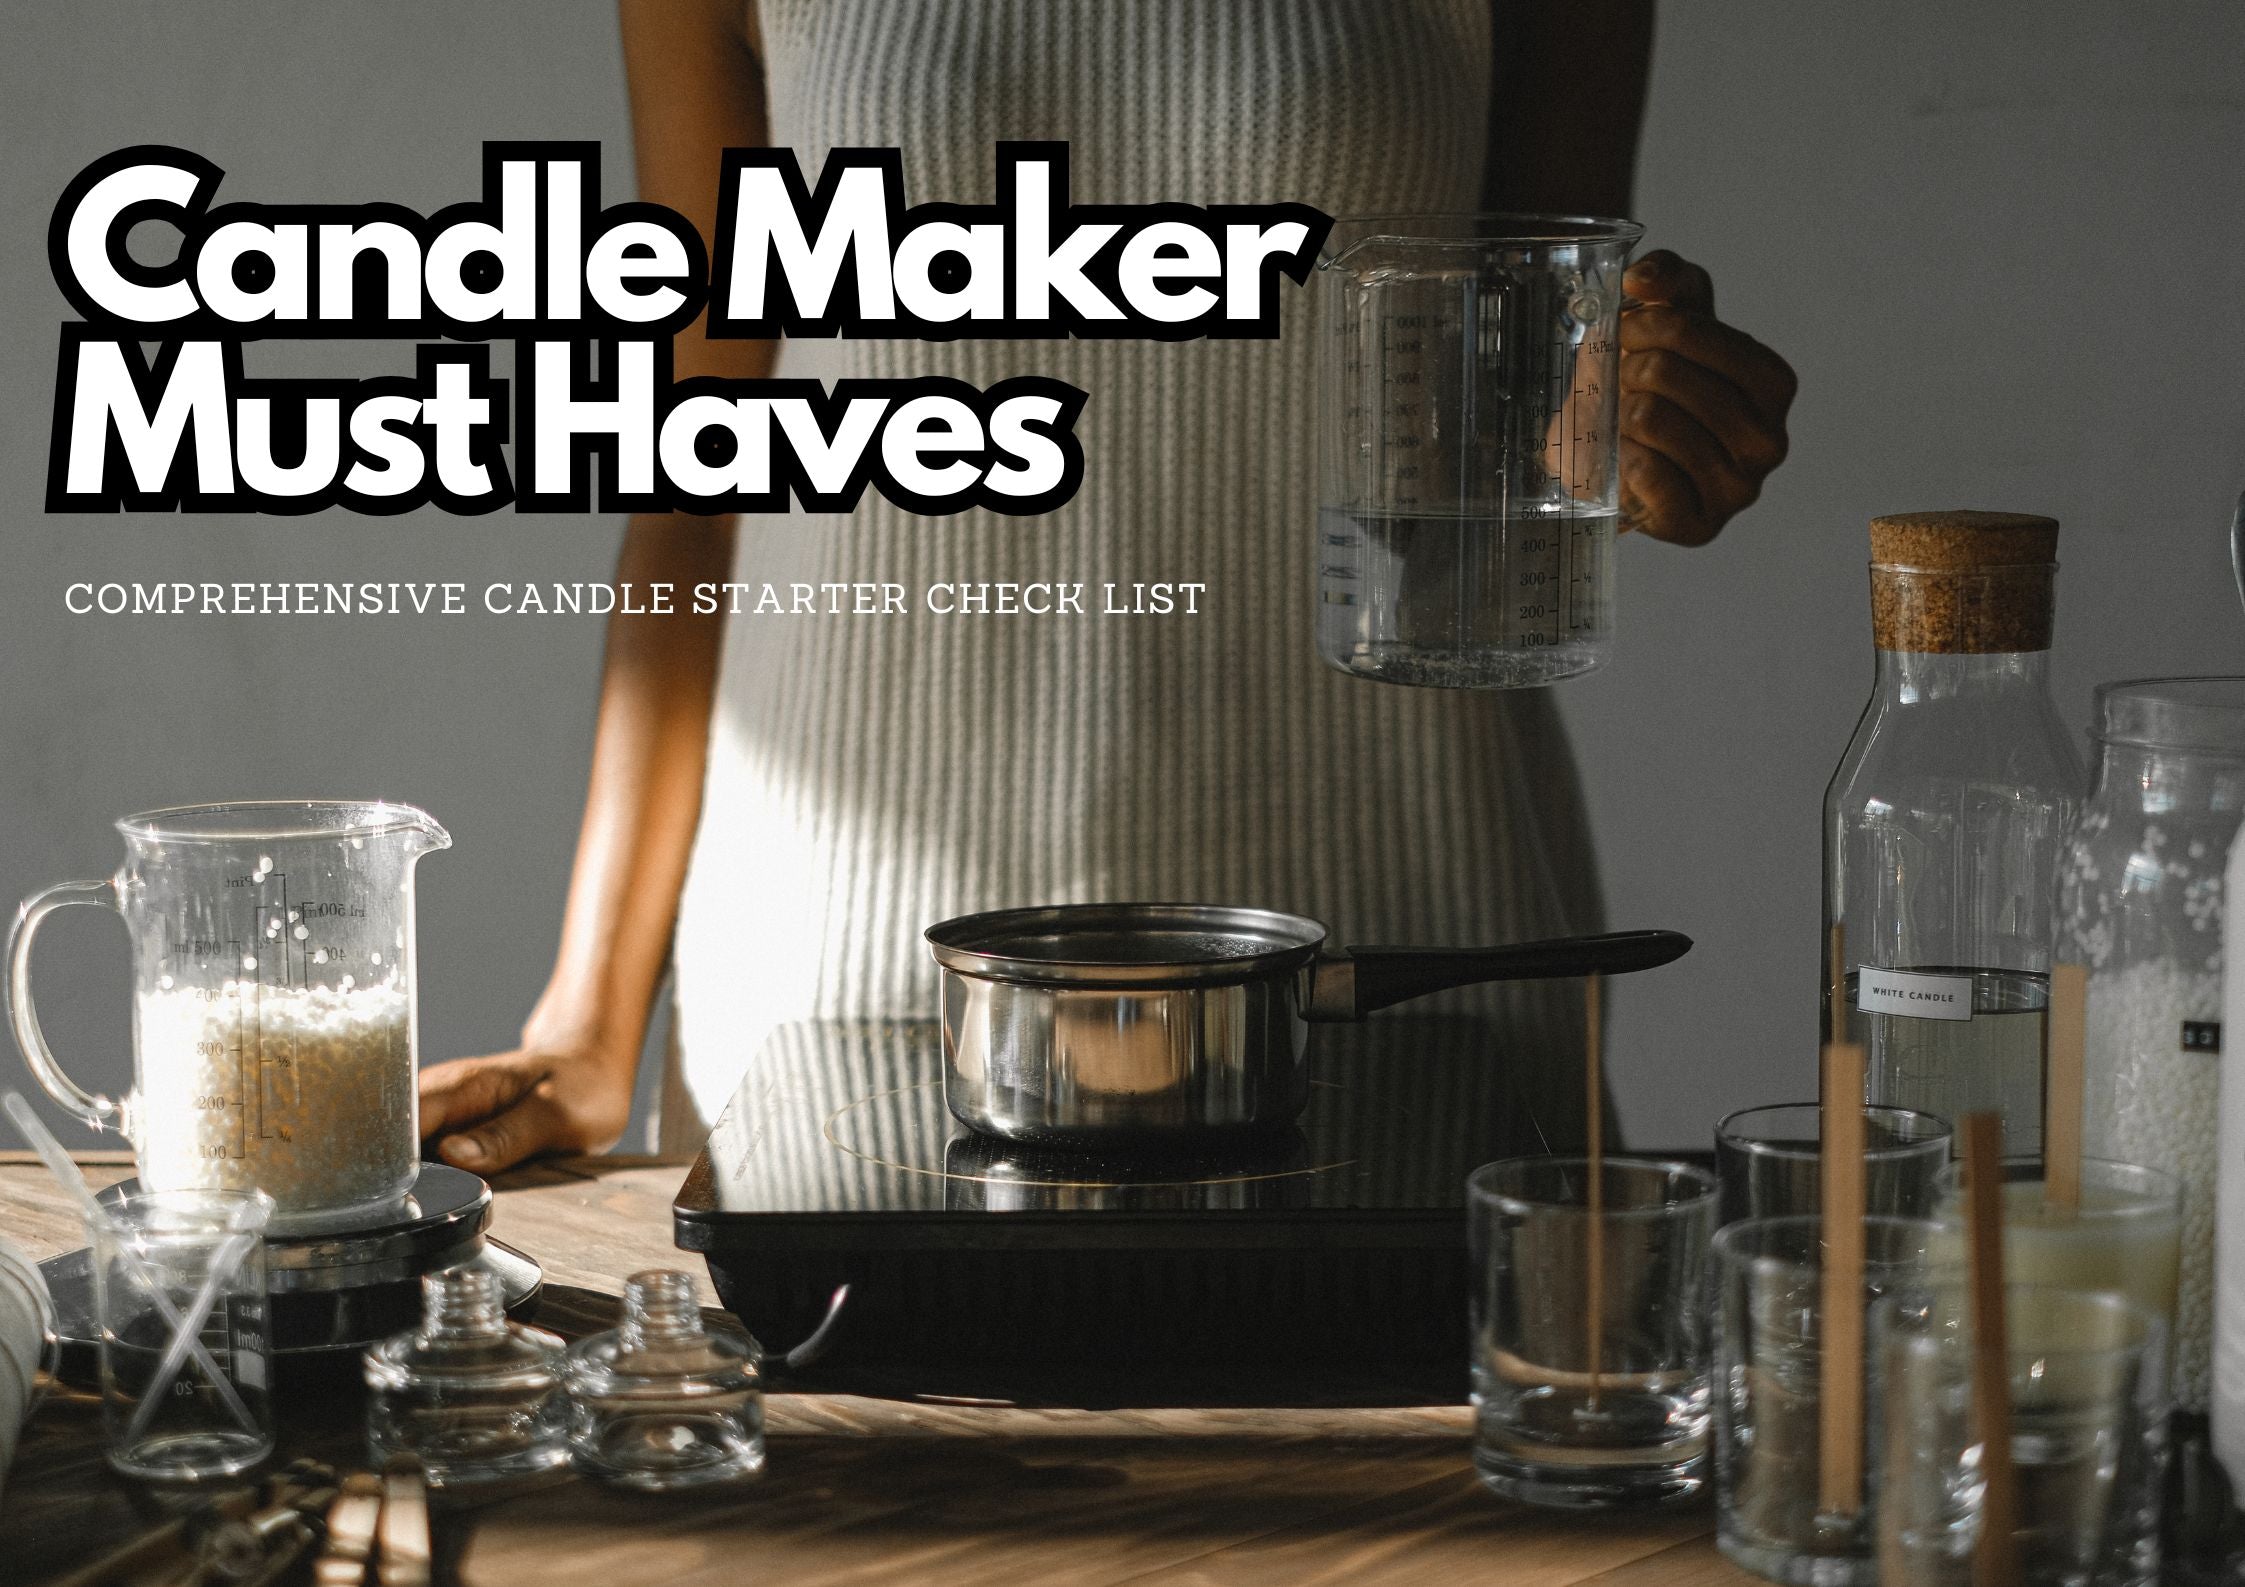
Let’s see what you will need for your candle making process. Regarding the ingredients, you will need soy wax and essential or fragrance oil of your choice, as well as candle wick, wick holder and a jar or container. When choosing the essential or fragrance oil, make sure to choose good quality ones as it can determine the quality of your candle. The same goes for the wax itself but there are slightly smaller quality differences there.
Another tricky part is the choice of the wick as it will determine how well your candle will burn. As you might have read in the previous posts, a lot of issues with your candle’s flame is caused by the wrong type and size of wick. You can choose the correct thickness based on how wide your jar is, and the length on how tall it is. If you are unsure, it is always advised to ask for help in the store. Additionally, you can even bring the jar with you and measure the wick with it.
When it comes to equipment, a bigger measuring cup or a digital scale and a good-quality thermometer are must-have tools. When we talk about quantity, the safest is to measure by weight and not by volume. However, you can find many DIY videos and tutorials which use a measuring cup and measure by volume. You have to make sure to choose a good and reliable thermometer as the whole process is based on specific temperatures. Without that, you will end up with a poor quality.
Step-by-step process
After you purchased all the necessary tools and ingredients, let’s see the step-by-step process guide. First off, you have to measure the amount of wax that you will need. The amount of wax will also determine how much essential or fragrance oil you will need. But both of them should be measured by weight. It might be okay to start with around 300-400 grams of wax.
The second step would be melting your wax. Now, there are various methods for that, like a microwave or a double boiler. In my professional opinion, a double boiler is the safest choice, so it is also worth purchasing one on the long run. In the double boiler, you have to start heating up the wax and melt it until it reaches 185°F. At this temperature, you can add the chosen essential or fragrance oil and mix it. When mixing it, be careful to mix it well but don’t stir for too long as it can cause bubbles in the melted wax.
Now, you have to wait for your soy wax to cool off a bit before you can pour it in the chosen jars. When the temperature is around 130°F, you are free to pour it in the prepared jar. Make sure to clean the jars perfectly before pouring and it that your wick is secured in the jar.
The last step is to let your candle cool down completely and trim the wick to the right length. The length of the wick is important because that will ensure a long-lasting flame without flickering or leaving sooth behind.
Trips and tricks for good quality candles
Even though the most important part is definitely the candle making itself, there are quite a few things you can do to ensure that your soy candles can be used for a long time without any issues. Firstly, it is important to let your candles cure at least for one or two weeks before first lighting it. This will ensure that your soy wax is properly cooled down and harden.
Secondly, it is important to pay attention to proper storage of your candles. This means that you always have to keep them in a cool place and possibly away from direct sunlight. It is pretty obvious that stronger sunshine can make your perfect candles start melting. However, you might not think about the fact that it can also discolour your candles. This can be a big problem if you use colouring additives to make colourful candles. So, no sunlight whatsoever! And lastly, you should always keep lids on your candles. Lids will keep their surface clean and will prevent dust and small particles from sticking to the candle. For pillar or tealight candles, you might want to store them in separate boxes.
With this beginner’s guide to soy wax, I believe that you got a clear picture about candle making with soy wax. For a beginner, it is a really great option and will result in perfect candles with a nice and strong scent and flame. All you need is a few equipment and the necessary ingredients.