What you need to start candle making ( Our top tips to get you started! )
Sep 08 , 2022
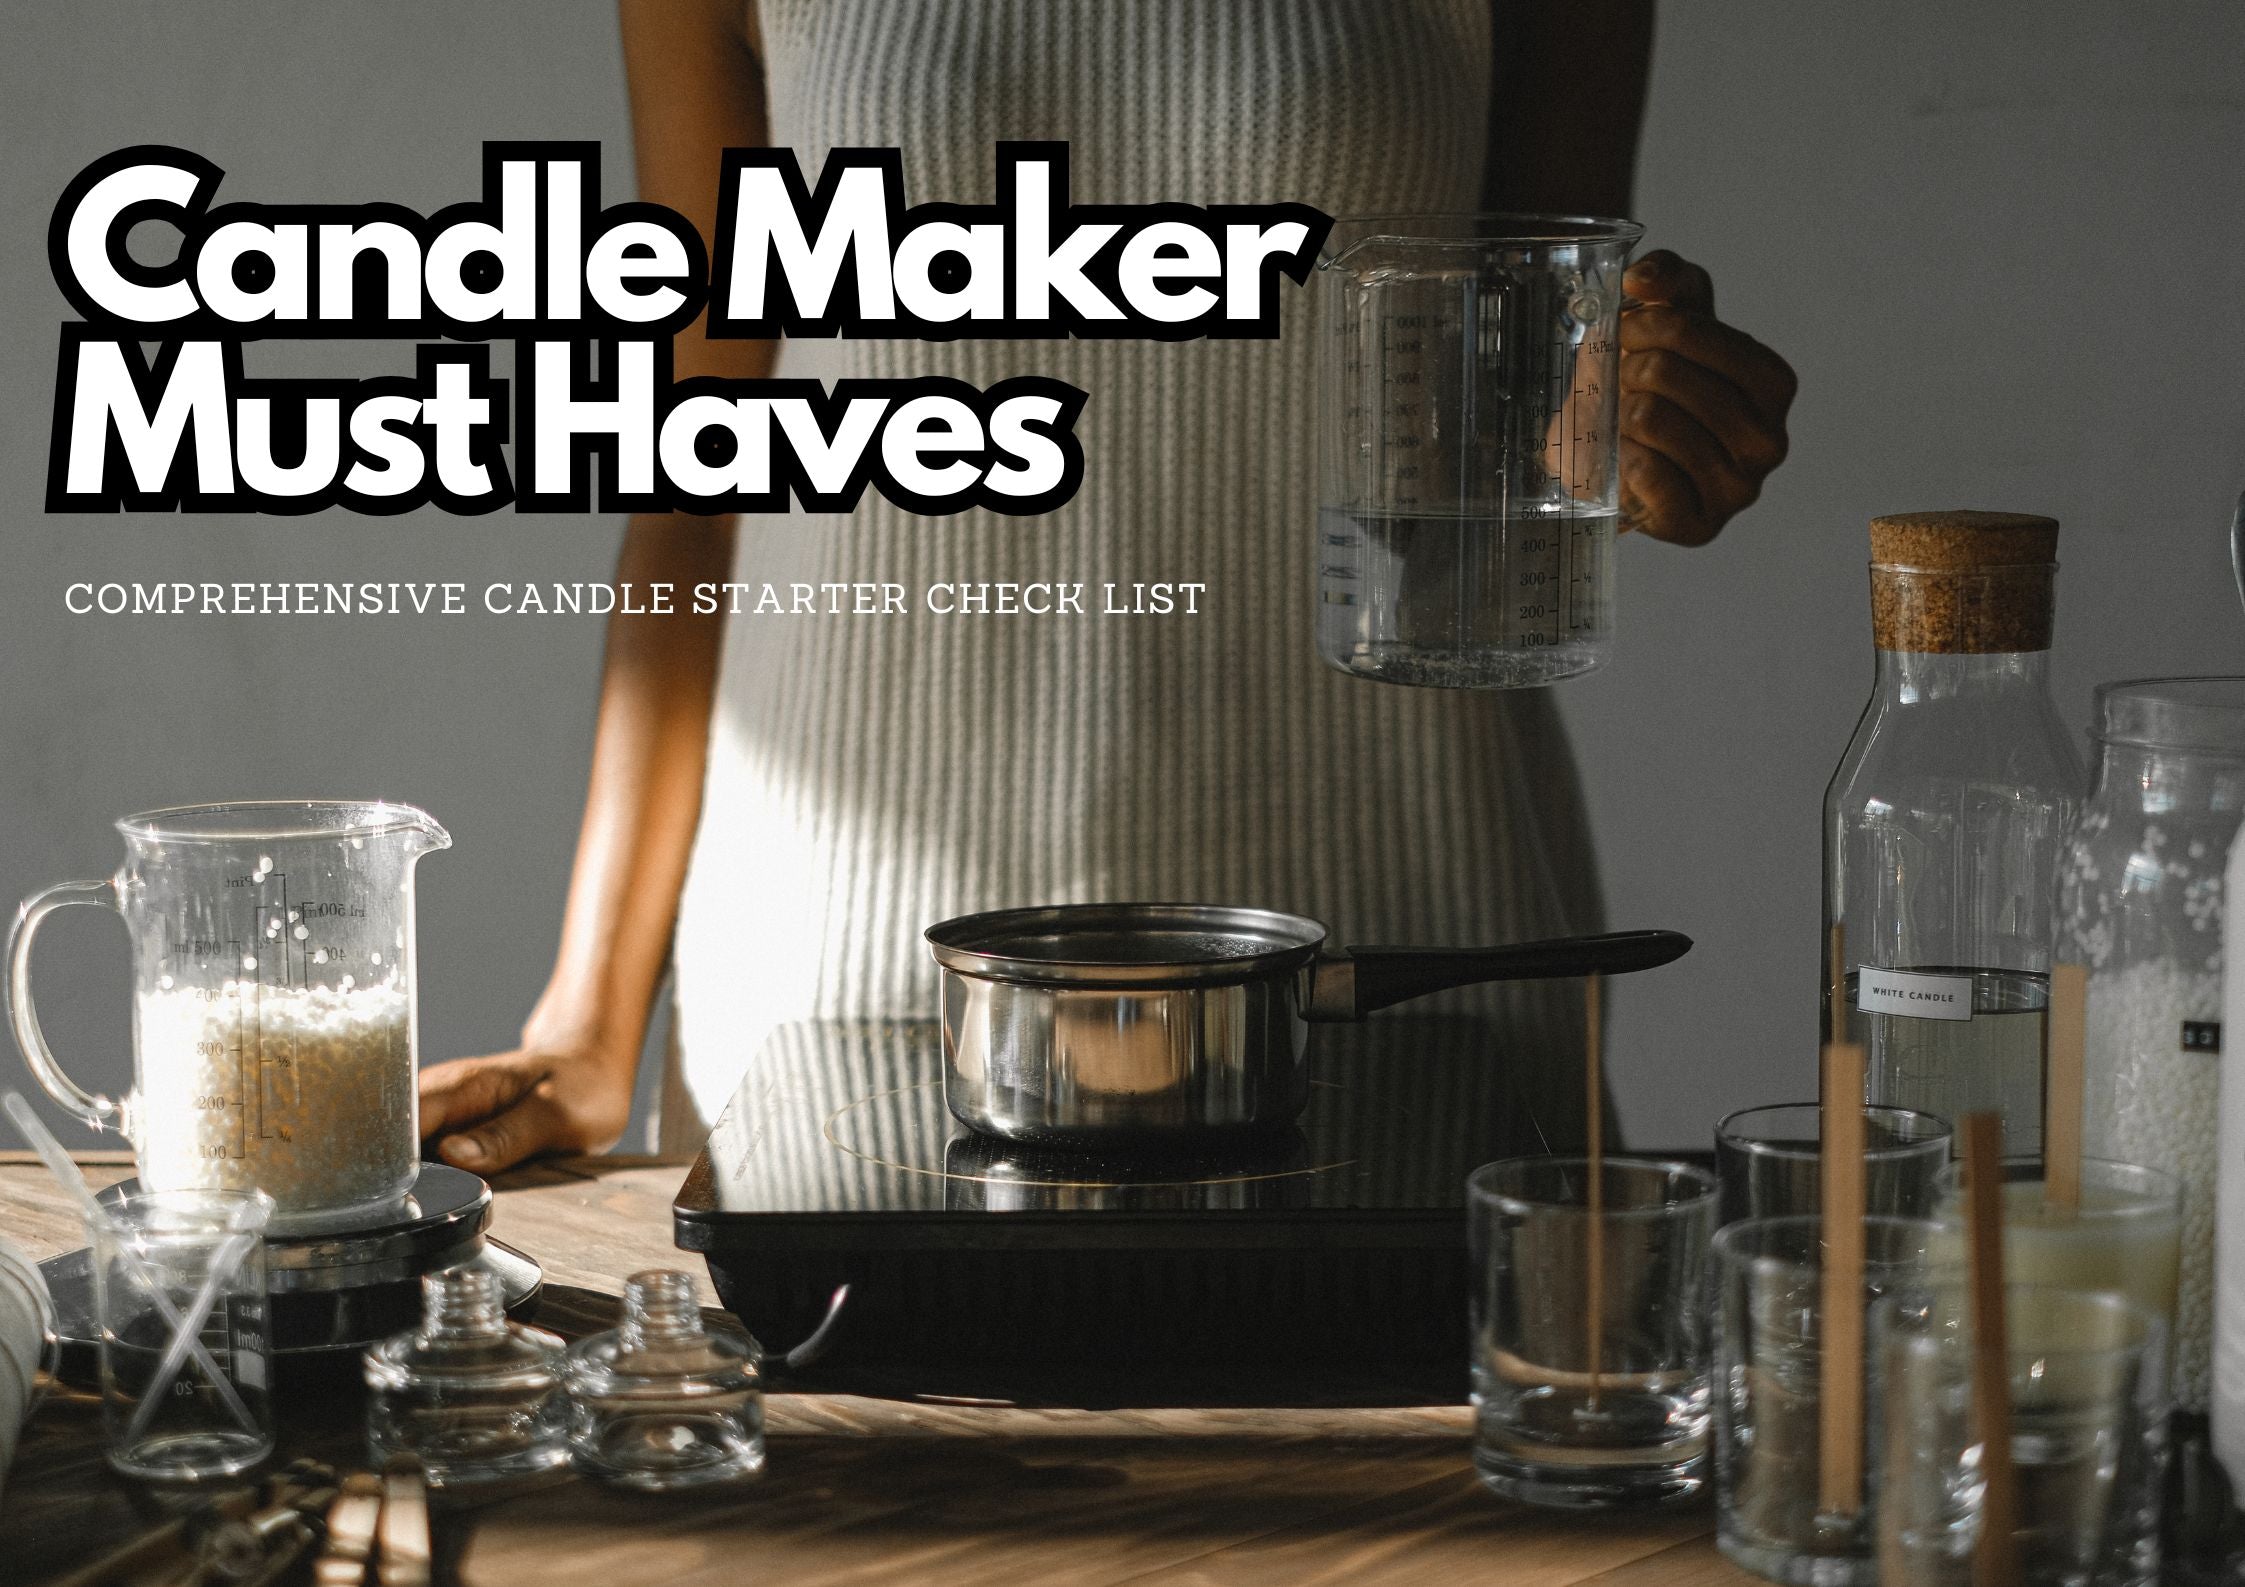
You've seen these lovely soy candles online and you think to yourself.... I could probably make one of those, it's simply a case of melting wax, scent and sticking a wick in a jar... It can't be that hard... can it?
When we first check online for candle supplies with the goal of buying the materials and tools for our first candle DIY it can be overwhelming. Nowadays there is a huge variety of waxes, wicks, vessels, fragrances and even adhesives to fix the wick.
So you've been meaning to get into candle making as a hobby or even as a side hustle, but you don't know where to start ? No problem, we've got you covered. In this guide, we'll go over some of the basics of candle making so that you can get started on your candle-making journey. This guide isn't going to teach you how to make a candle but it will tell you exactly what you need to have/get to create your very first candle.
Candle wax

The first thing to decide is which wax to use for your candle. This will affect not only the appearance of the final product, but also its combustion properties.
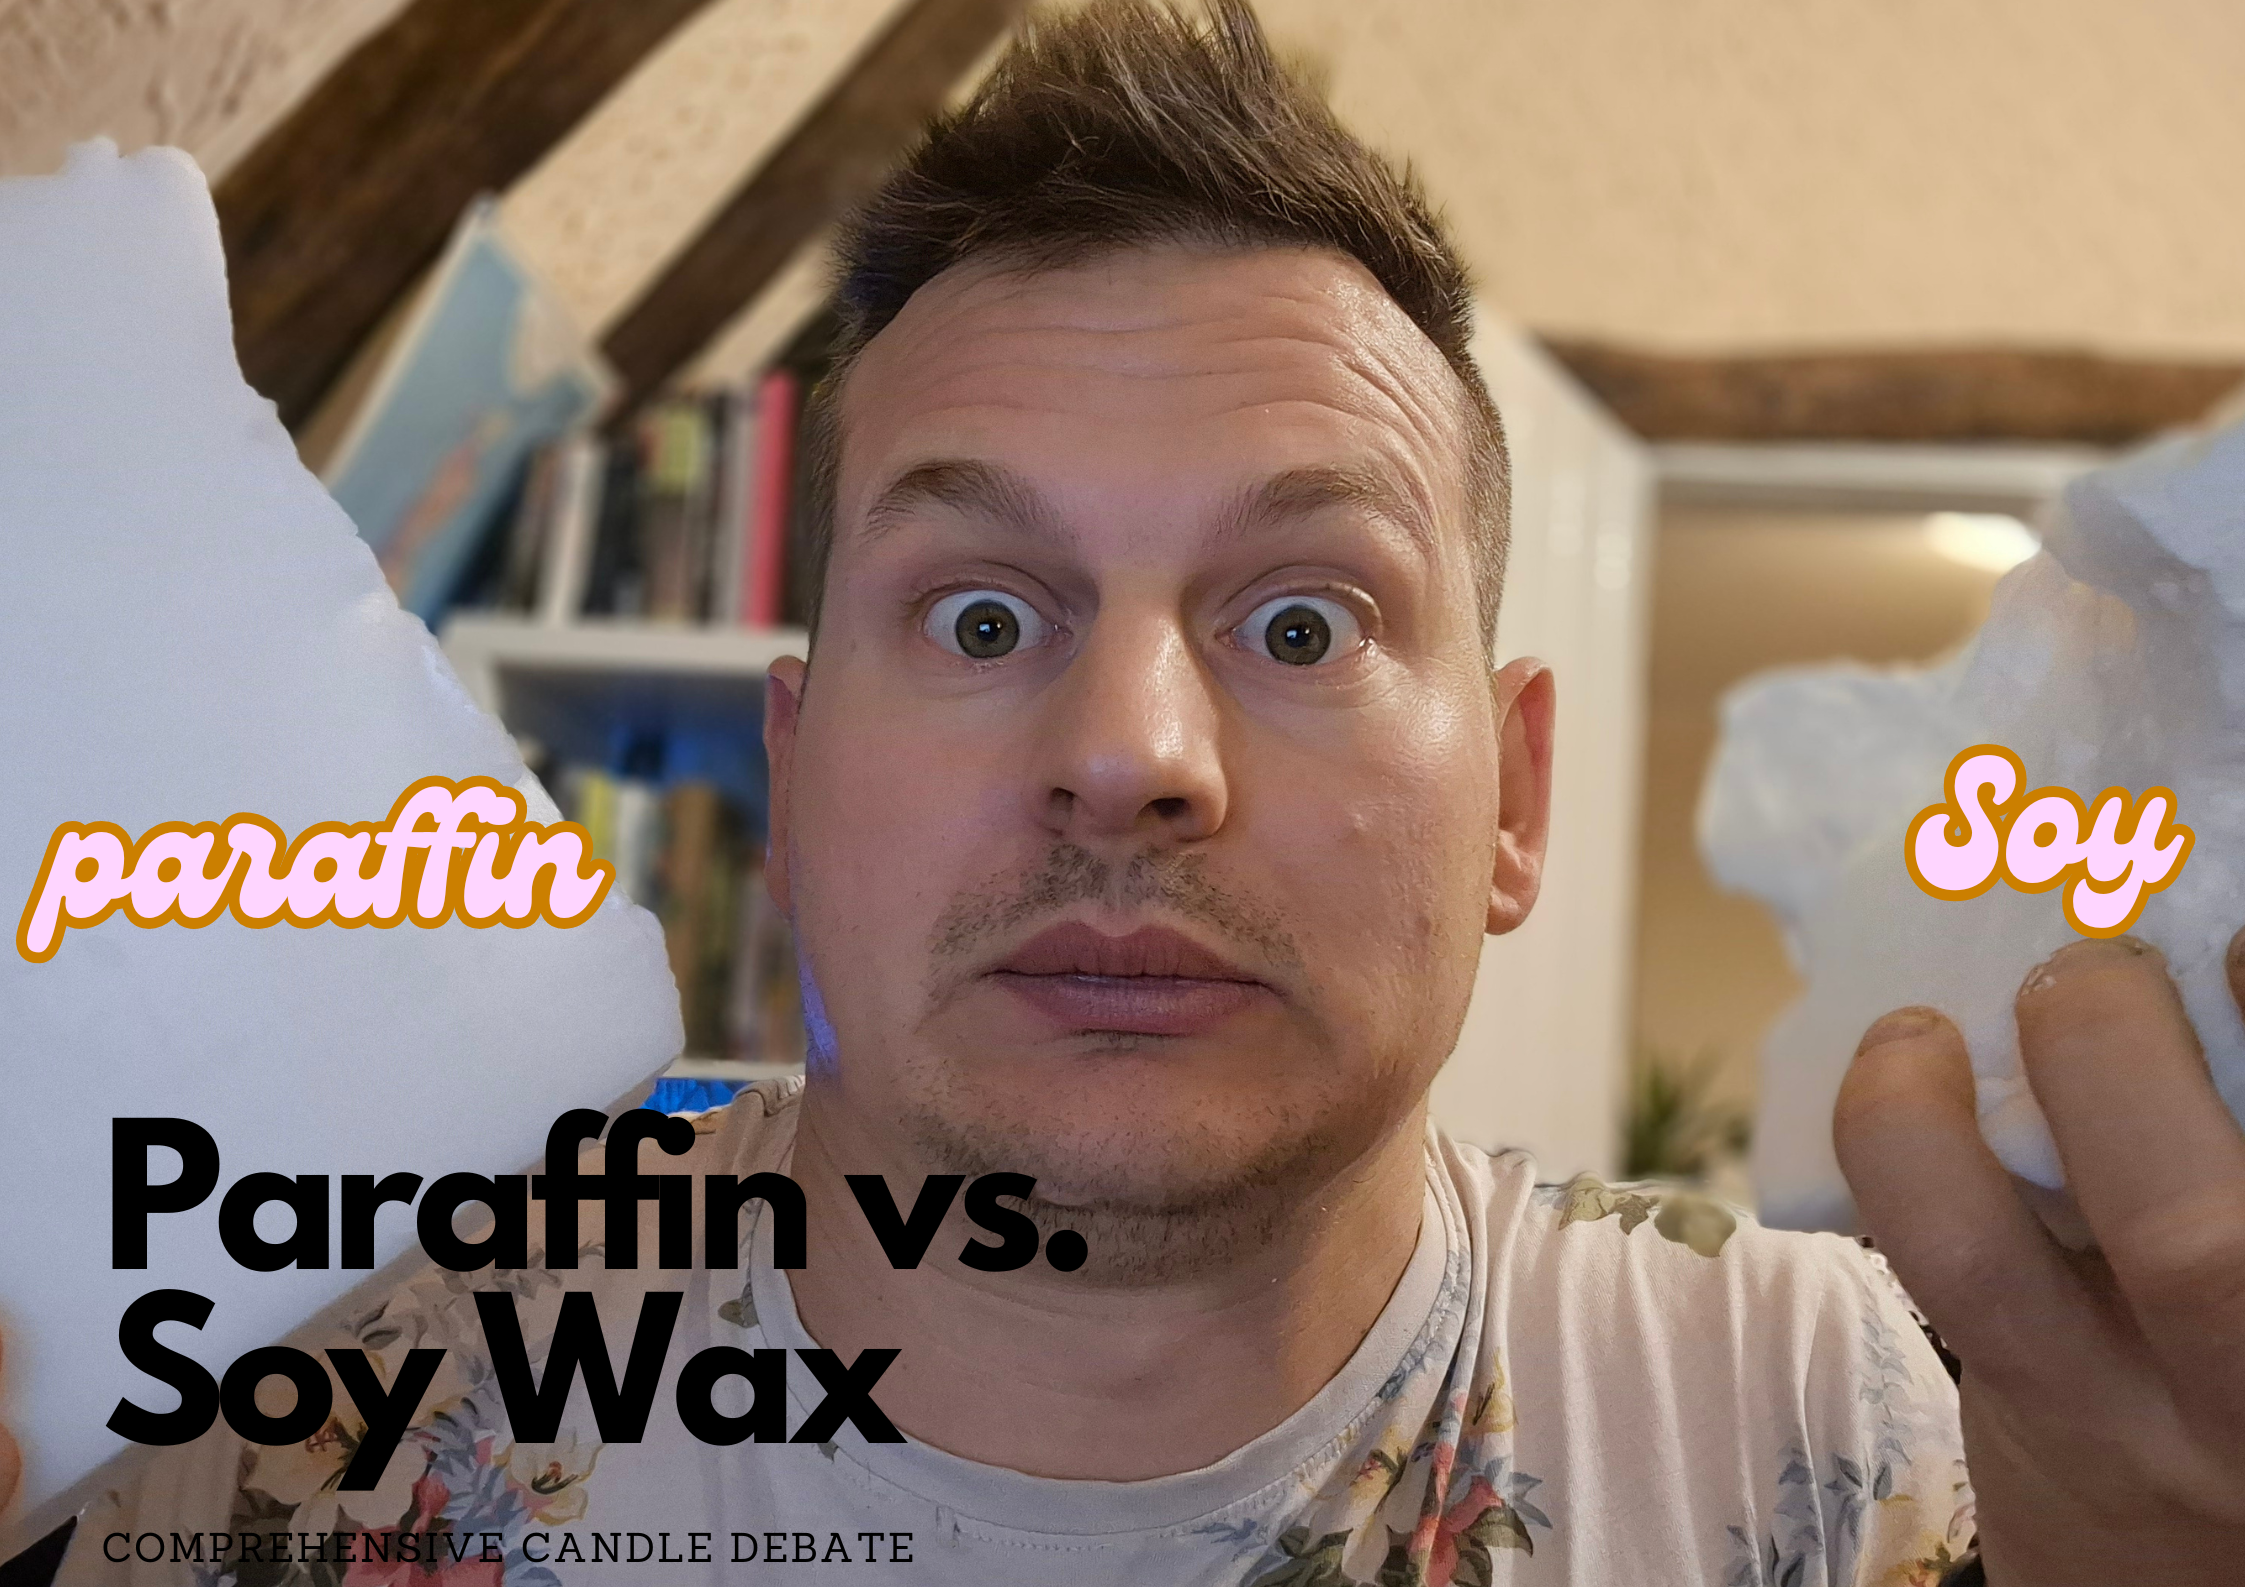
Paraffin wax
The most common and cheapest type of wax available in shops is paraffin wax. Paraffin wax is a petroleum derivative that has been used for candles since the mid 1800s. It has been studied in several research projects for its harmful effects but it has never been fully proven. The bigger problem with this substance is that - as a petroleum derivative - it is non-renewable and non-natural.
Natural alternatives
In recent decades, hobby candle makers have increasingly used natural waxes to replace paraffin wax. Palm wax, beeswax, rapeseed wax, soy wax and coconut wax are all fully natural alternatives.
-
Using palm wax can give your candle a unique, crystalline texture.
-
Candles made from beeswax have a higher melting point and therefore burn with a warmer flame and give slightly more heat.
-
A big advantage of rapeseed wax is that the raw material used to make it is grown in Europe, so its carbon footprint is very small.
-
Coconut wax is also an excellent natural alternative, with a deep white, creamy colour that is beautiful without the use of dyes.
-
Of all the natural waxes, soy is perhaps the most popular. This is no coincidence, as this wax has a low melting point, which allows it to burn much longer than candles made from other raw materials, so you can enjoy the fragrance and beauty of your masterpiece for much longer.
When choosing a candle wax, a lot depends on personal preference, some people don't like the colour of a raw material or the way it behaves when melted. When making your first candle it is always a good idea to choose a wax that is easy to work with. Although paraffin wax is easy to melt and pour, it is a much better idea to look for a natural alternative on the shelves of the shops, taking into account the environmental concerns. Soy wax can be an excellent material for your first DIY project, as it is not only beautiful but also very easy to work with.
Our top 4 Natural Waxes for container candles:
|
Wax Type |
Good for |
Features |
|
Nature Wax C3 |
Cheap, effective, consistent container candles. 100% soy wax, perfect for container candles, relatively cheap too. Did have some frosting issues and bumpy tops. |
Scent load of 6 – 8%, good glass adhesion, good scent throw – great all around candle wax for the price. |
|
CB Advanced Soy Wax |
Best for consistent great results, perfect tops every time no heat gun. Great scent throw to match, low frosting. ( This is what I use in my candles now, perfect every time). |
It is a fully formulated, single pour, all-natural soy container wax that requires no additives. With a huge scent load of up to 12%. |
|
Nature Wax C6 |
Punchy scent throw, coconut wax takes your candles scent to another level. Soy & Coconut blend, designed for container candles, on the more expensive side. I really struggled with frosting & smooth tops – |
Scent load of up to 12%, mega scent throw hot and cold. |
|
Keraysoy Container Wax |
Another cheap all round container wax, good scent throw, really easy to work with. Consistent work horse. |
You can add fragrance oils up to 10-12% when you are working with KeraSoy container wax. Good glass adhesion. |
Wick

No candle burns without a wick. It will affect how long the candle burns and the shape of the flame. There are several options available, each of which has its own advantages and disadvantages. Wicks are made from cotton, hemp, nylon and wood. They can be braided, knitted or twisted, flat, square or round, treated or untreated.
The wick absorbs the wax that melts around it, transmits it by the principle of capillary action and then carries it to the flame, where it burns. So the wick's job is to feed the candle flame.
The material of the wick, the weaving technique and the size of the wick affect how much wax the wick can deliver to the flame, so different wicks produce different burns.
How does the perfect wick burn?
-
The flame is neither too small nor too big, about 2 cm.
-
The flame is not flickering.
-
No smoke, no soot.
-
The candle burns completely, not a gram of wax is wasted.
How to choose
There is no such thing as a do-it-all wick that can be used for any candle at any time. You should always choose the wick for the material and candle making technique you want to use. Wicks bought from online stores and hobby shops will all state what size candle and type of wax they are recommended for. These recommendations are important to consider when making your choice.
Top 4 candle Wicks available:
|
Wick Type |
Good for |
Features |
|
Stabilo wicks |
Great for container & pillar candles, compatible with, paraffin & vegetable waxes. |
Pure cotton and brown paper threads and coated in paraffin wax. |
|
LX Series |
Recommended for paraffin waxes. |
Solid flat braided wick made from pure ring spun cotton yarn. |
|
Wedo Eco Wick |
Suitable for both paraffin and vegetable waxes. |
Made of pure cotton and thin paper filaments interlaced for a more stable and consistent burn, it is a self trimming wick as it curls over. |
|
TCR Wick |
Designed for soya and vegetable wax. ( My favourite, I used in most of my candles, they look great too). |
Made from pure long strand ring spun cotton and paper, great burn profile, soot free & smoke free. Self Trimming. |
Vessel

Once you have chosen the wax and the wick, the hard part is over or so we think. You may have selected your wax type and wick, but to get an effective candle you’ll have to test, test, test. Wicking different size containers is the tricky part.
From now on, we only have a few guidelines to follow, but beyond that, we have to rely on our taste and imagination to create the candle of our dreams.
When making a poured candle, the shape of the container determines not only the figure of the candle but also many other resulting features.
If you choose a large container you will need more wax, but your candle will burn longer. If you pour your wax into a tall but narrow container, it will burn more efficiently than if you choose a low but wide vessel, because the flame of the candle may not be able to melt the wax towards the edges of the container. Which will require you to test different wicks or maybe even use two wicks.
Things to look out for
In addition to the size and shape, it is also very important to make sure that the pot you choose is heat-resistant. Specially designed candle vessels sold in shops can of course withstand high temperatures. If you can't find a suitable one among those made for this purpose, you can choose one from home. The shape and material of enamel mugs are both ideal for candle making. Coffee and tea mugs are also considered heat resistant, but our favourite wine glasses are sadly not. If you want something really unique, you can use mason jars. While upcycling is a good idea, it's important to stick to heat resistance, because if you choose a vessel that can't withstand heat, the side of your candle holder can crack, which is a big fire hazard.
It is important to use only a completely and thoroughly cleaned vessel. Contamination can cause problems when pouring wax, but can also release toxins due to the heat from the candle flame.
If you want to add your own decorations to the exterior of your candle, make sure you use only heat-resistant materials!
When choosing a vessel, make sure that the inside surface is as smooth as possible so that the melted wax can easily flow down towards the wick and the flame.
Most commonly used candle vessels are:
|
Vessel type |
Pros |
Cons |
|
Mason Jar |
Cheap, inexpensive, can buy in bulk, rustic. Easy to wick. |
Limited collection of lids, clear jar if you have frosting issues there’s no where to hide. |
|
30 CL Glass |
Mid range candle vessel, very common, multitude of lids to choose from – easy to wick – Easy to source. |
A little more costly as with the above clear glass, no where to hide if you have frosting issues. |
|
150 g Amber Glass Jar |
Popular jar, hides small frosting imperfections, labels look great on these jars. |
Quite common everywhere, avoid if you want to stand out from the crowd. Difficult to find in bulk cheap. |
|
50 cl Glass Bowl |
Big candle vessel, great for scent throw and a centre piece to wow people with. You can charge a lot for such a big candle, mark up decent. |
Can take time to master such a big vessel, usually requires 3 wicks, the vessel and lids can be costly. |

Fragrance oils and essential oils
Perhaps one of our most exciting tasks is choosing the fragrance. The fragrance we choose is most of all a matter of our own taste. Of course, there are also things to keep in mind here, so that the finished product is just as we dreamed it would be. The first step is to decide whether to choose fragrance oils or essential oils. By adding fragrances, we can also give our candles special properties: lemongrass is a powerful insect repellent and lavender helps relieve stress.
Fragrance oils
Fragrance oils are synthetic, so they are produced in a factory. They often cause a negative reaction in people with allergies or sensitivities. However they have two big advantages over essential oils. One is that you can choose from a wider range of fragrances if you go down this route. For example, if you want a candle that smells like chocolate cake, you will most likely have to choose a fragrance oil to achieve your goal.
More importantly, because they are specifically designed to be used with candles, they evaporate at high temperatures, which in practice means that candles scented with fragrance oils will have a greater range of fragrance and the scent will stay in the air longer.
Our top 4 fragrance oils for candles:
|
Scent |
Pros |
Cons |
|
Vanilla Fragrance Oil |
Easy fragrance oil to work with for beginners, sweet and lightens up the atmosphere of any room. |
Subjective scent, a bit like marmite, love or hate it. Quite common – not always a bad thing, depends if you want to stand out. |
|
Fresh Linen Fragrance Oil |
Smell of freshly cleaned sheets, what's not to love ? You don’t need a lot of fragrance oil for this one, packs a punch. |
Have had problems with candle sweating with certain types of soy wax. |
|
Coconut Fragrance Oil |
A good stress reliever, it reminds us of holiday! Pairs great with lemon grass & lime. |
Getting the right levels of fragrance can be tricky with coconut, some fragrance oils are more potent than others. |
|
Rose Fragrance Oil |
An all time classic fragrance, everybody loves rose, a hit with the ladies. Commonly available and with other blends such as rose & oud. |
I have struggled in the past to find good solid rose fragrance oils, some have been so weak they’ve been non existent. The smell of rose varies quite a lot between suppliers too, you’ll have to pick one you’re happy with. |
Essential oils
Essential oils are made using 100% natural substances, so there is much less chance of triggering an allergic reaction. These oils also need a much lower temperature to evaporate, so although they are healthier and more environmentally friendly, the fragrance of candles "spiced" with these oils will last much shorter. For this reason, it is advisable to choose a wax with a relatively low melting point for essential oils, such as soy wax. Unfortunately, we also have to consider that a good quality, truly all-natural essential oil will be much more expensive than a fragrance oil.
Our top 3 essential oils for candle making:
|
Scent |
Pros |
Cons |
|
Lavender Essential Oil |
The gentle, soothing scent of lavender essential oil is highly popular among aromatherapists. It helps to induce sleep and a sense of calmness, making it an excellent essential oil for candle making! Mid range for cost. |
There aren’t any cons with lavender, I don’t think i’ve met anyone who doesn’t like lavender! I guess the only down side to it is how common it is, you can however blend it with scents such as chamomile to be slightly more unique |
|
Peppermint Essential Oil |
Potent scent, not a lot of fragrance oil needed, quite cheap on the market compared to many other oils. |
Toxic to dogs and other animals. |
|
Bergamot Essential Oil |
Lovely uplifting citrus smell, it’s what makes Earl Grey tea so unique. Can be quite expensive to buy. |
I’ve struggled with potency, trying to get a good hot throw with bergamot can be tricky. |
Other things to consider
So we've seen that both sides have their own pros and cons. What you need to make sure with either choice is that you only use the amount stated on the manufacturer's label when making candles. Also take into account if you live with a pet, some scents may irritate them and cause a negative reaction (for example, cats do not like the smell of citrus fruits).
Dyes

While we're on the subject of customisation, we should also have to say a few words about dyes. There are several types of dyes: liquid ones, flakes and solid blocks.
How to choose
The difference between liquid and solid dyes lies in the way they are used and the vividness of the colours they produce. Liquid dyes produce a less bright, pastel-coloured wax and are much easier to mix, so you can get really unique colours. Solid dyes are suitable for colouring large quantities of wax at a time and will produce brighter, stronger colours.
Any of these can be used for soy wax. When it comes to colour, there are plenty of natural options to choose from to make your creation unique. In all cases, make sure you only use colours specially made for candles. At first glance, it might seem like a good idea to use food colouring, for example (if it's healthy enough for human consumption, it shouldn't contain any harmful substances), but the problem is that it's water-based and will never mix with candle wax.
Personal experience:
I’ve had most success with liquid dyes, I’ve been making tie dye style candles and dropping little bits of dye down the sides of the candle jar, then using a heat gun to melt the wax and dye, it creates a wicked effect, looks a bit like a galaxy moving around as you do it.
Wick glue

So far, we have learned about the ingredients that determine the look, smell and burn of our candles. Now we come to the ingredients and tools that may seem less important at first glance, but are essential in reality. One of these, often overlooked ingredients is the glue needed to fix the wick. It is necessary to glue the wick to prevent it from separating from the bottom of the vessel, as it can rise to the surface of the melted wax, creating a potential fire hazard. Hobby candle makers most often use glue dots specifically designed for this purpose, as they are easy to use and guarantee safety.
Alternatives
If for some reason these are not the glue of choice for you, some kind of high temperature certified glue (e.g. gasket glue) will do the job. A glue gun combined with a high melting point glue stick is also a popular choice. Fortunately the adhesive used in this step will not influence the look of the final product, so as long as it can hold down the wick any choice is a good choice.
Best wick glue for candles:
|
Type |
Pros |
Cons |
|
Wick Dots |
Easy, cheap & quick to use. Good to get a batch done in advance. |
Sometimes not that sticky, when the candle gets too hot they can become unstuck. |
|
Hot Glue Gun |
Cheap alternative, easy to buy supplies. More suited for hobby candle makers. |
A little slow, can get messy. |
|
Gasket Silicone |
Quickest method, most adhesive. My preferred method, 100% resistance to heat, the wick stays exactly where you want it. |
Usually bought in red, can leave an unsightly red mark on your candle jar, however I’ve found a grey version. Once I’ve added a CLP label no one notices. |
Scales

Everyone knows that precision is key when it comes to candle making. After all, you want your candles to look and smell amazing, right? This is where a scale comes in.
Having a good scale is important for ensuring accuracy and achieving consistent results. Measuring the right amount of wax, fragrance oil, and other ingredients can be difficult without a scale.
This can lead to candles that are either too weak or too strong, and that burns unevenly. A scale also allows you to make multiple candles simultaneously, which can be helpful if you make them as gifts or for a special occasion.
There are various scales on the market, so it's important to choose one that is accurate and easy to use. Finding the best scale for your needs can seem daunting with many available options.
You need scales for candle making, candle making is all about precision you can't eye ball any of it, not for consistent results!
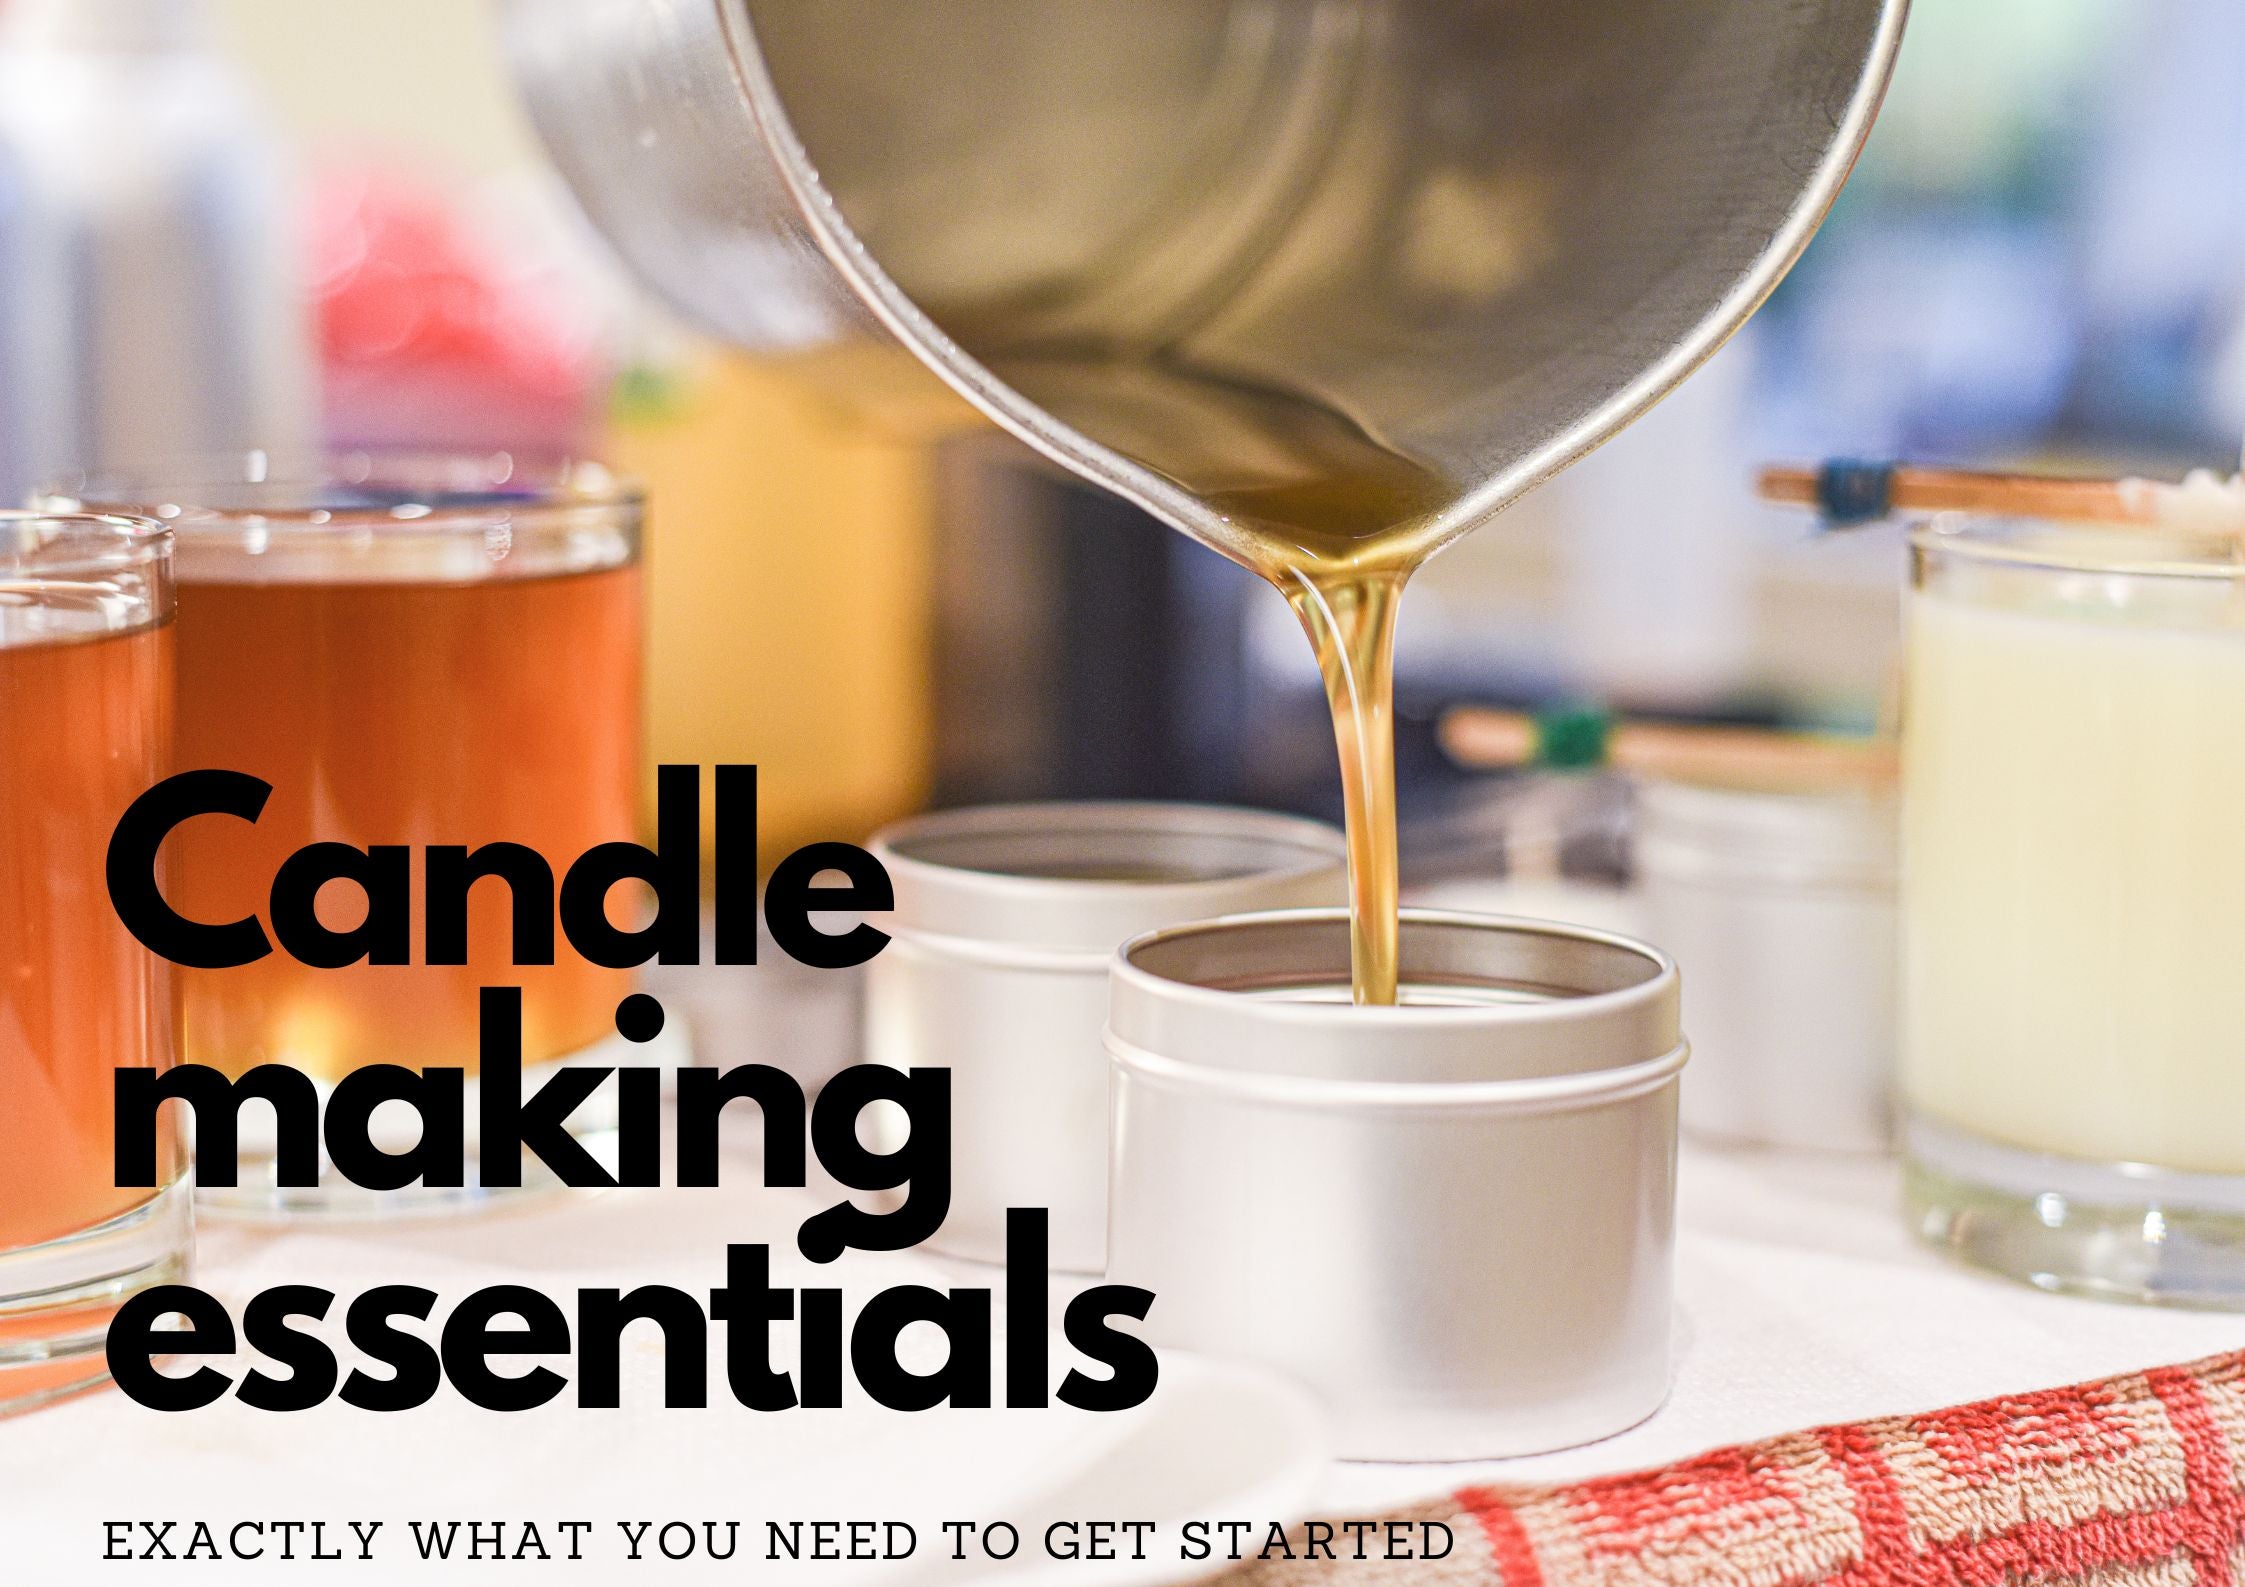
Double boiler

Now let's take a look at the tools we will need to make our first candle! Maybe the most important is a double boiler. This will enable us to melt the wax, which comes in a solid form. Candle making at home requires caution. And you will need a double boiler for it. This is necessary because if the wax is exposed to direct heat it can catch fire or evaporate.
A double boiler consists of two vessels, the larger of which contains hot water. The smaller vessel is placed in this hot water to allow the wax or wax chips, which are placed in small pieces, to melt evenly.
Things to look out for
To save time and some dish washing, the smaller pot in your double boiler setup can have a pouring spout, so you can pour the melted wax straight into the vessel of your choice. It is important to keep an eye on the melting wax and stir it occasionally. It's a good idea to make sure that pots and utensils that have come into direct contact with wax are stored away from the ones in which are used to prepare food in, because although natural waxes are not toxic per se, they can be harmful if consumed.
I’d say double boilers are most suited to hobby candle makers or for simply making a candle test – I have been known to use the microwave for small candle tests, oops!
Alternatives to a double boiler! My preferred method for melting candle wax is a soup kettle, you can also use slow cookers ( I found these were too slow at heating the wax), & presto pots.
Best alternatives to double boilers for candle making:
|
Equipment type |
Pros |
Cons |
|
Soup Kettle |
10 litre volume, great for making big batches of candles. Can also hot hold wax to your require temperature. Cheap method for bulk candle making |
Getting the wax out of the vessel can be tedious, lots of ladling – this is what I use, can be a little messy. |
|
Slow Cooker |
Most people have an old one, cheap method for heating candle wax. I’d say they’re better used for wax melts. |
Can be really slow in heating, patience is required. Most slow cookers are 5 litres max. |
|
Presto Pot |
I purchased a specifically designed presto pot for candle making, it has a lovely tape & thermostat, I use it for making beeswax candles. Really quick at heating, great for speed. |
5 litre limit can hold you back, if bulk is your desire. Quite expensive. |
Thermometer

It's a good idea to have a thermometer with us when melting the wax to check the temperature of the melting material. When choosing a thermometer, all you need to do is make sure that it is heat resistant enough to accurately measure the wax as it melts.
Our guide to the best thermometers for candles will help you narrow down your choices – If I'm honest any old thing will do in the beginning you can invest in better thermometers as your candle making expands.
Wick centring tool

Wick centring is a very important and not to be neglected step when making homemade candles. It is very important to wick the candle along the entire length of the wax in the centre of the candle. If this is not the case, the wax may burn unevenly, with the result that not all of it is burned, so some of the raw material may be wasted. Another problem that can arise in this case is that the side of the vessel that is closer to the flame can become black from soot, especially if paraffin wax is used.
You can buy the wick centring tool in hobby shops, but you can achieve similar results yourself with the help of two chopsticks and a pair of tweezers. The point is not to miss this important step, because no matter how straight your freshly glued wick is, it will most likely move during the pouring and drying of the wax.
Don't panic if your wick isn't entirely centred you can fix it!
My experience: The quickest way I’ve found for centring my wicks is eye sight and using an empty biro with out the ink, simply putting the wick inside the tube, adding the wick glue and aiming for the middle.
Heat gun

The last thing you need is a heat gun (or a very strong blow dryer). When the wax solidifies, the top surface of the candle will not be completely smooth, but will have grooves reminiscent of the surface of an orange peel. There are candle makers who like this surface, but if we dreamed of a completely smooth candle, we would need a heat gun to melt the top layer of wax, which then solidifies itself to a smooth surface with a satin shine.
Check out our guide to the best heat guns for candle makers – I couldn’t live without my heat gun, most of the time my candles are pretty good but every now and then we all need a little help!
Our final thoughts

Now that we are aware of what materials and tools we will need, our most important task is to plan what kind of candle we want. If we have a solid idea, we can easily choose the right raw materials and get to work to make the first DIY candle of our life. It can be a good guiding principle if we strive to choose natural alternatives wherever possible, as this can make homemade candles much more special than their store-bought counterparts.
Among the many types of wax fragrances and wicks, it may be difficult to navigate at first, but if we do our homework and look at the properties of each material, we should not run into unwanted surprises during our work.
It is very important not to give up if our first candle does not turn out exactly as we dreamed it would. Remember that practice makes perfect.