

As a hobby or professional candle maker, we always face new challenges. It can be related to the business itself, such as finding good quality ingredients or attracting new customers. But more often it is about the candle making process itself. It is obvious, that you have to learn a lot about the different waxes, right temperatures and quantities as well as the adequate process. However, during the learning process, you might encounter some issues with the finished candle. It can be challenging to fix issues without knowing the reason. One of the most common issues would be a drowning candle wick. So whether you have experienced it yourself or not yet, it is definitely useful to know what causes this, and how to save a drowning candle wick. Let’s see what you need to know in order to avoid or fix it.
What is a drowning candle wick?
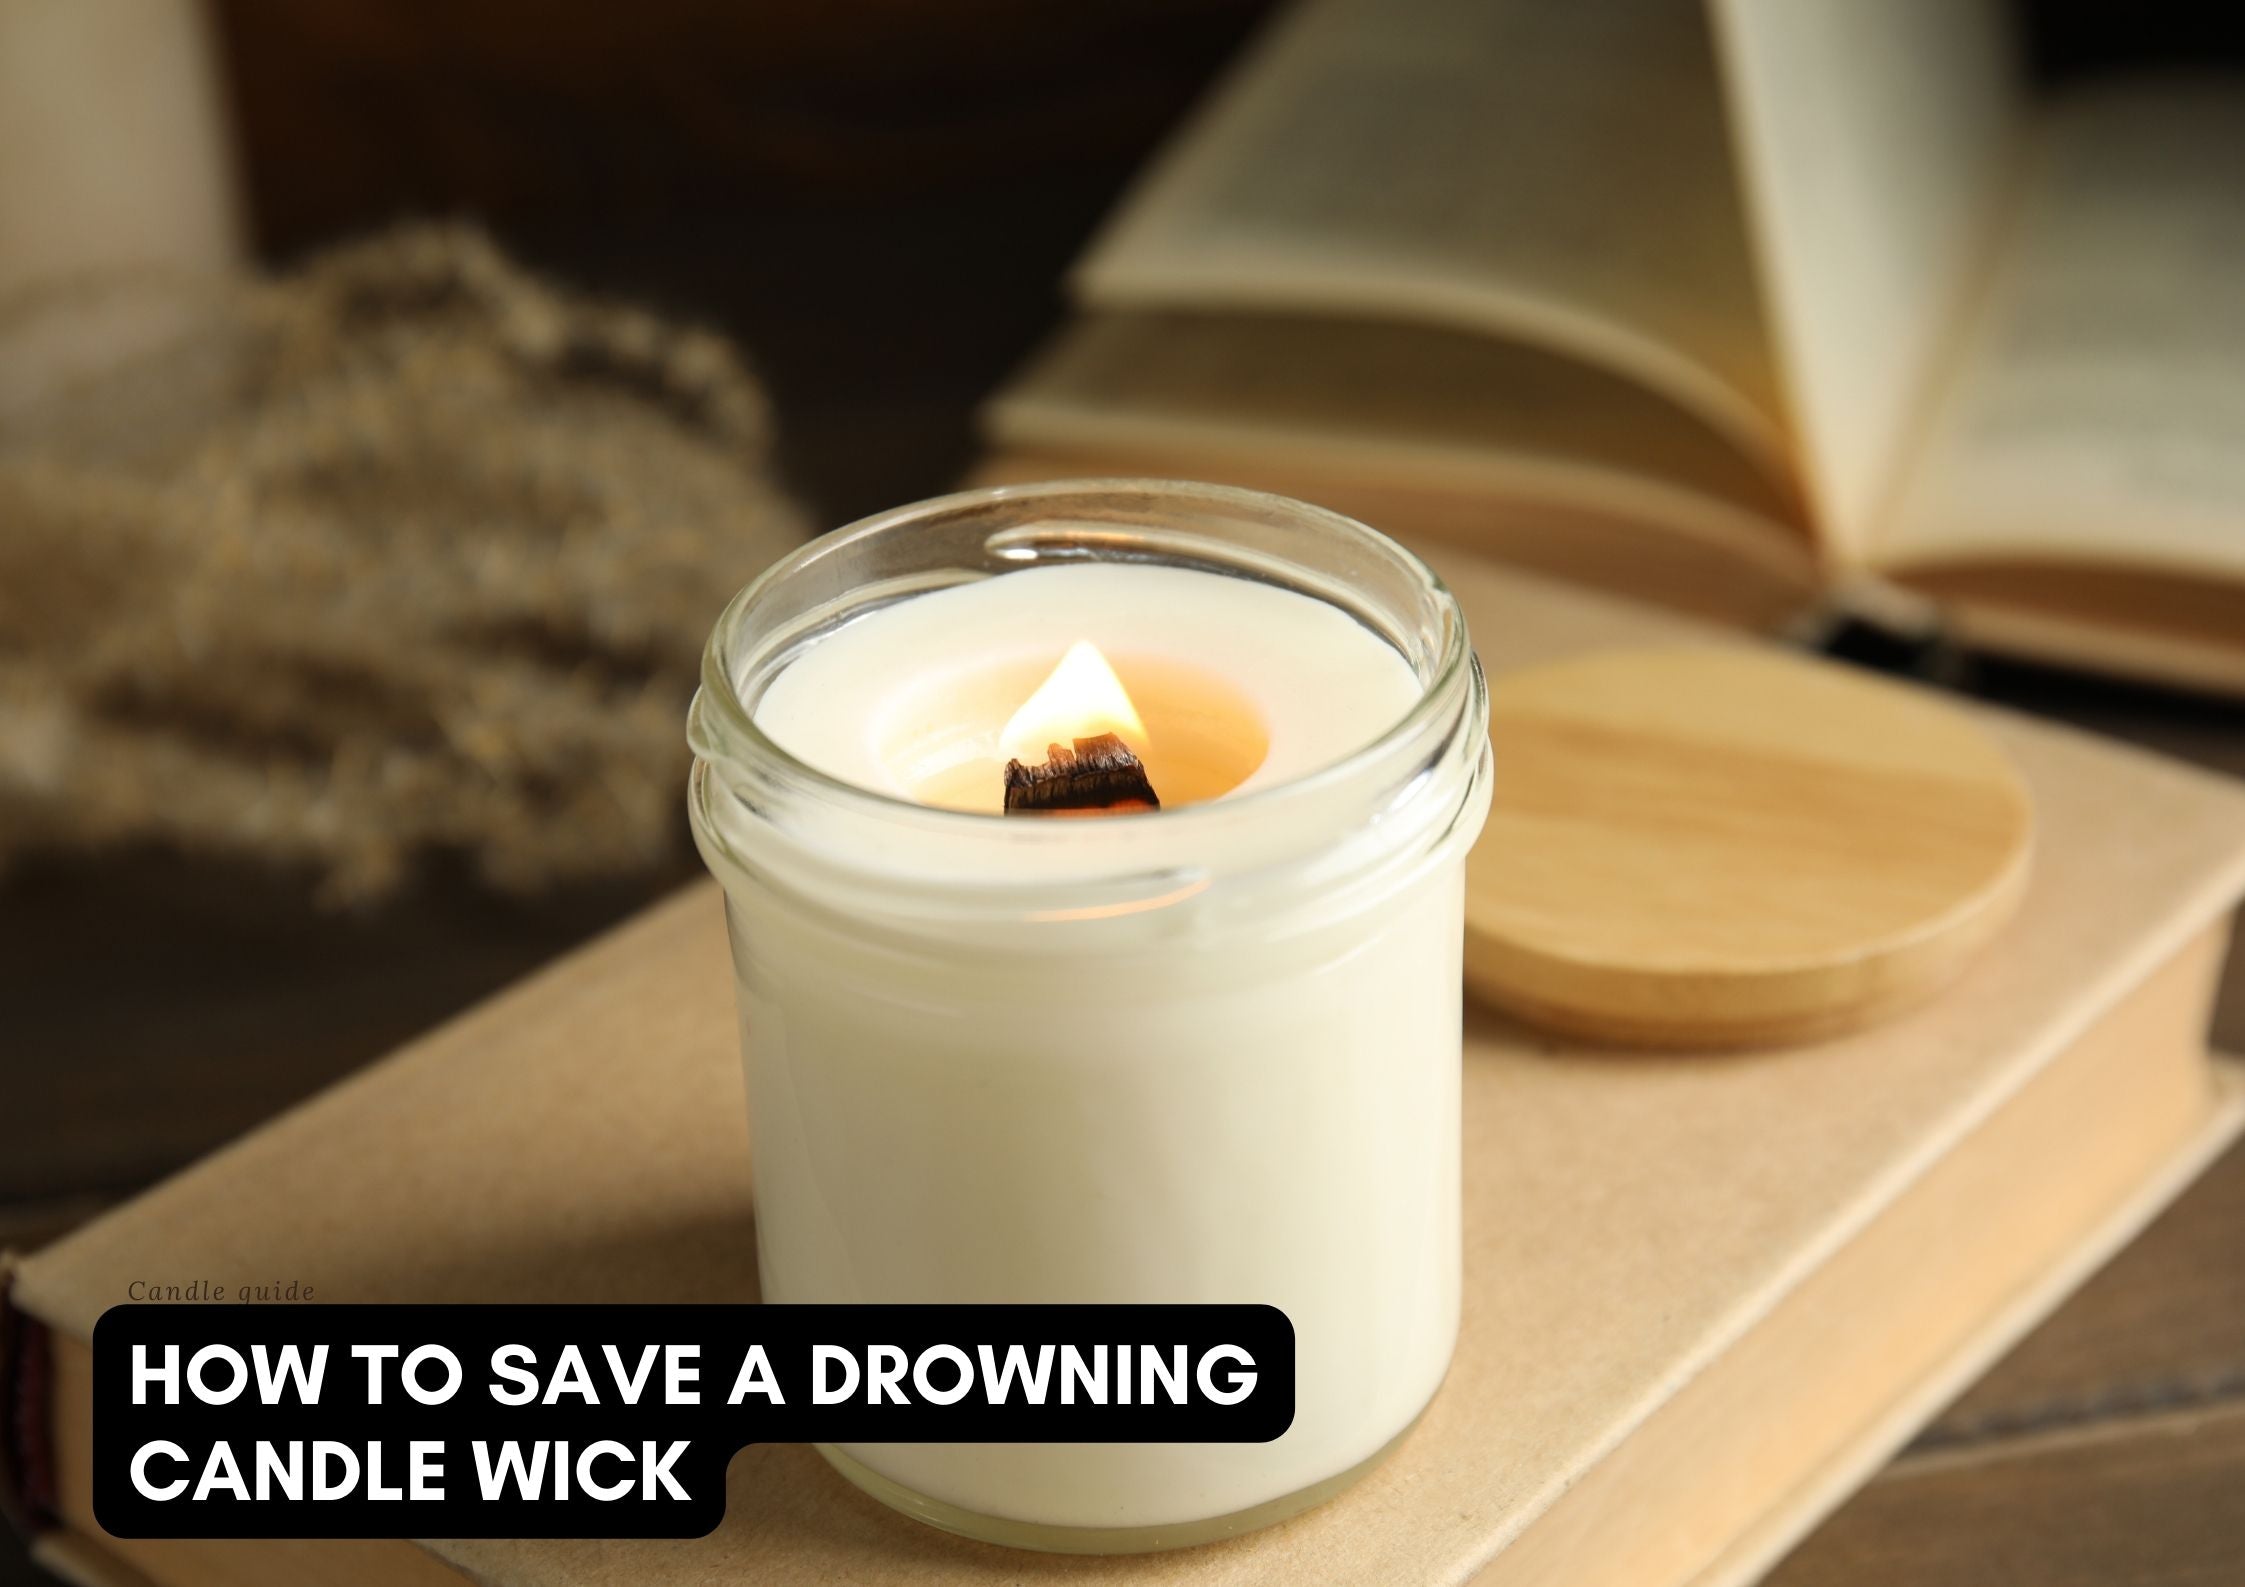
We should start with the basics so you can realize when your wick is drowning. We use this expression when your candle wick is too short and therefore not able to stay lit due to the pool of melted wax around it. This explains why the expression is drowning as your wick is basically just smouldering. The problem itself is quite common and can happen to the best of us – so don’t worry if you see your candle wick drowning.
What causes it and how to prevent it?
Now that you know what we are talking about, let’s see the most common causes. In case of any candle problems, it is crucial to know what the cause is. If you know the reason for the most common candle issues, it will be a lot easier for you to avoid them so you don’t have to keep on fixing them.
First of all, the most obvious reason is that your wick was already too short to begin with. Alternatively, the length was normal but due to a quality issue, the wick burns more quickly as it should – resulting in a deeper wax pool which will smother the flame. You can avoid it by always paying close attention to the length and the quality of your chosen wick. When you choose the correct length of your wick, take into consideration the length of your candle as well as the diameter of it.
Secondly, this problem can be caused by the user of the candle. It is worth knowing that candles require regular trimming so the wick has to be trimmed before and sometimes even during the use of it. By ensuring the proper length of it with trimming, you can avoid most issues relating to how it burns.
Lastly, another common issue can be the reason of your drowning candle wick and that is tunnelling. Tunnelling means that only the inner parts of your candle wax starts melting which will create a deeper hole – or eventually a tunnel – around your wick. With this uneven wax melt, the wax pool will eventually bury your wick and flame with it.
As a small detour, let’s talk a bit about tunnelling. It is usually caused by not keeping your candle lit long enough the first time you use it. If the candle can’t burn at least for two hours, its surface won’t melt evenly and will end up tunnelling during the second or third use. This is a tip that many candle makers and customers forget and end up with a candle they can’t really enjoy. You can obviously prevent it by paying attention when you first light your candle.
How to fix it?
Above, you found ways to prevent your candle wick from drowning. But even with all this knowledge and pre-caution, you can sometimes end up with this problem. What to do in that case? Let’s see how to fix it!
If you see that your candle wick is drowning in a pool of melted wax, firstly you have to soak up the excessive wax. You can do it with a cotton pad or a Q-tip – of course while your candle is not lit to avoid fire hazard. If the hole is already too deep, you might have to melt the surrounding wax on the top of your candle to even it out. You can either do it with a heat gun or with a blow dryer. This way you can avoid even deeper hole and even tunnelling.
After that, you have to fix your wick itself. Normally, you should simply dig it out of the wax – the best tool for it would be a tweezer. The problem can be if the wick is already bent and curled. In this case you have to be extra careful. Also, you should do it while the wax is still soft as it will make it easier for you.
Lastly, you have to let your wax cool down completely before lighting your candle again. Depending on how much of the wax had to be melted, it might take a few hours. Then, you can light your candle again but keep an eye on it in the first hour to see if the flame is now normal. Hopefully, it will be so the problem is solved.
As you can see above, most candle issues have there logical causes and ways to avoid them or fix them if you already experience them. Therefore, it is highly recommended to familiarize yourself with the most common candle issues and solutions before you actually start making candles. It might sound like a tiring and time-consuming research, but it will save a lot of time and energy – not to mention all the wasted material you might use while making faulty candles. So make sure to do your research in time and learn everything you can about the tricks and tips of candle making!
